Upload File
Last update:2025-08-11 11:34:19
The CDNetworks Object Storage Console provides a file upload feature, ideal for users who do not need to upload a large number of objects. In these scenarios, users can easily and quickly upload a small number of files through the console interface without needing complex tools or scripts.
How to Set Up File Upload
- Log in to the CDNetworks Console and select Object Storage Service.
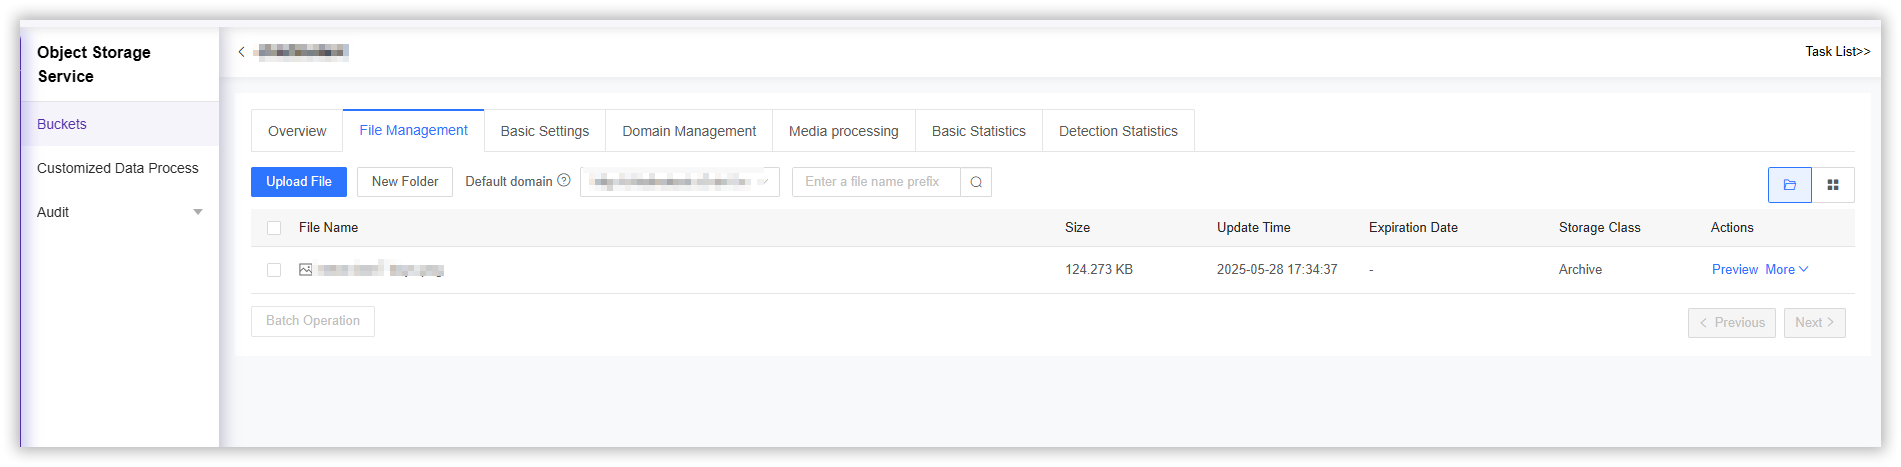
- Click the Name of the bucket you want to manage, or click Manage on the far right of the corresponding bucket.
- On the details page, click File Management in the upper section.
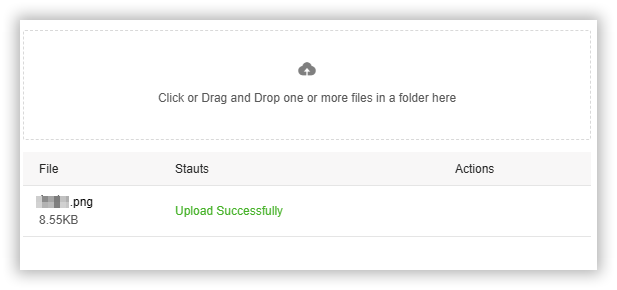
- Click the Upload File button and follow the on-screen instructions to upload an object. You will see the progress status when you upload.
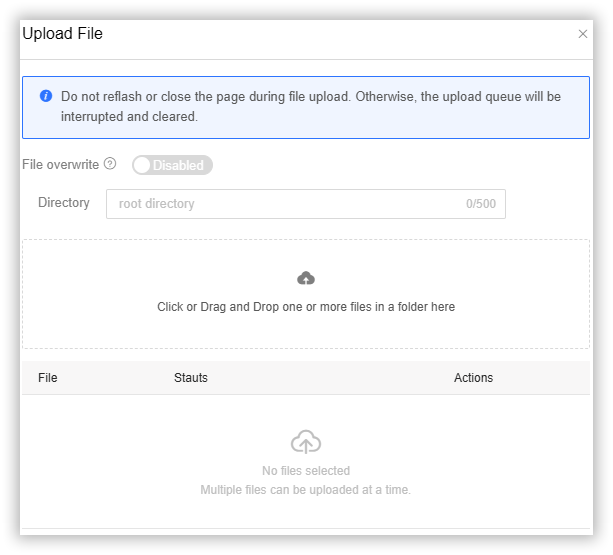
File overwrite
If you turn on this button,after the file overlay function is enabled, files with the same name in the bucket are replaced with newly uploaded files.Otherwise,if you disabled this function ,files with the same name in the bucket are not replaced with newly uploaded files.
Directory
You can set the root directory yourself for easier file access and management. After you enter a directory name here, the uploaded files will be automatically stored in the corresponding directory, which will also be created as a new folder.
Upload
Click or Drag and Drop one or more files in a folder.You will see the progress status when you upload.
Notes
1.If you need to cancel the upload during the upload process, please click the X on the right side of the upload progress bar to cancel the upload task.
2.You can choose Resume Upload from Breakpoint or Re-upload in case of any error during the upload process.