Contact Management
Last update:2026-03-19 14:56:11
To ensure that system notifications are delivered promptly and accurately to the appropriate personnel, we support adding multiple contacts to receive subscription messages from the console. This article describes how to manage the contacts and contact groups for your account.
Steps
Contact Management
-
Log in to the Console.
-
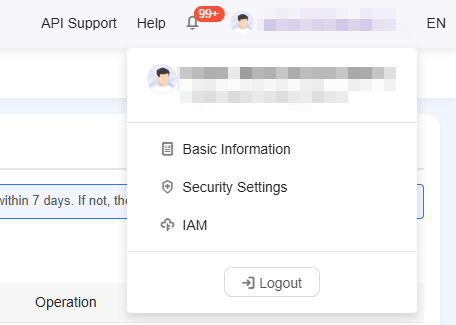
Hover your mouse over the upper right corner on Account, and select either Security Settings or Basic Information from the drop-down menu to enter the account management page.
- Click Contact Management to access the contact management page.
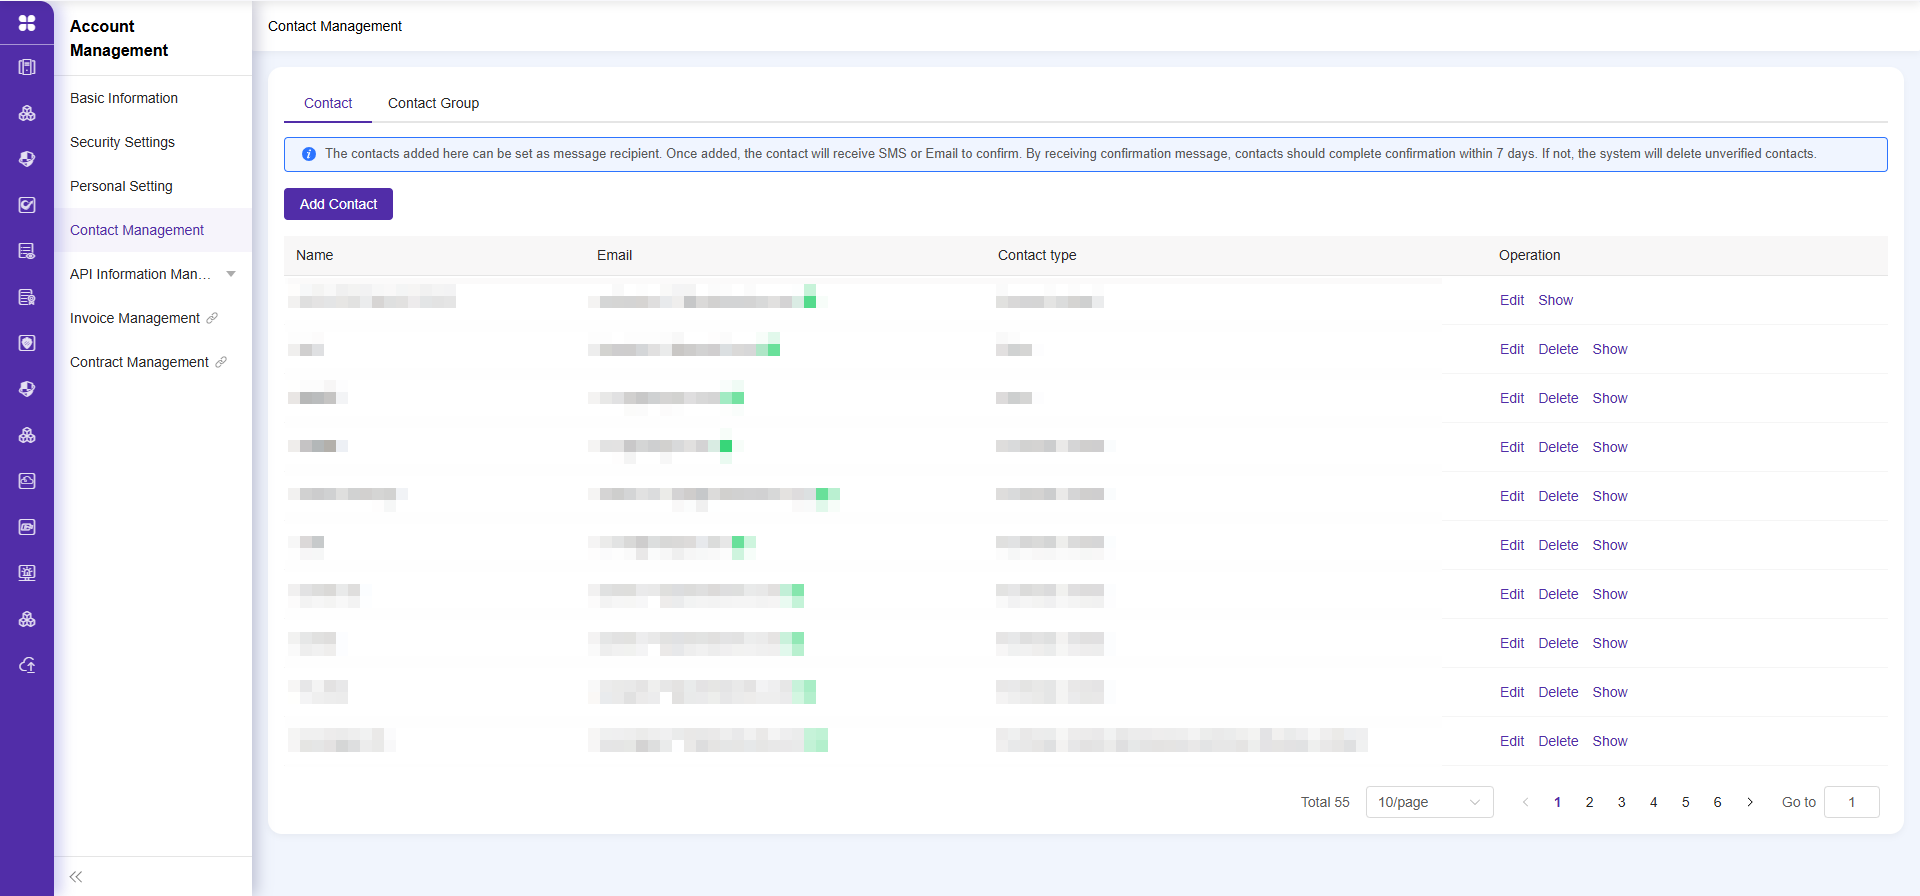
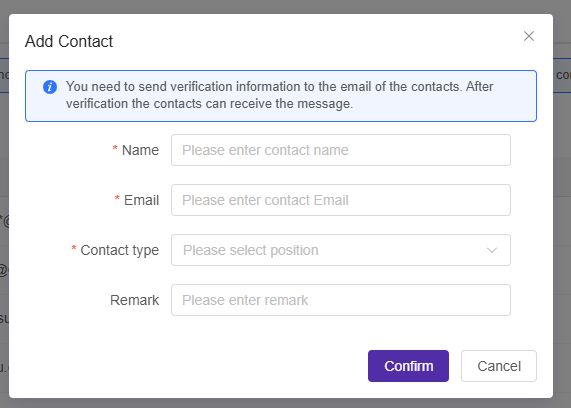
- Add or edit a contact.
- When adding a new contact, you must enter a valid mobile number and email address. The system will send a verification code to the contact.
- You need to ask the person being added for the verification code. Only after successful verification can they receive notifications.
- If the contact’s mobile number or email address is modified, you need to re-validate the new contact information.
- If you have not received the validation SMS or email, or if the verification code has expired, you can manually resend the validation information by clicking the Send Validation button below the exclamation mark in the list.
Note: Only validated contacts can normally receive notification messages.
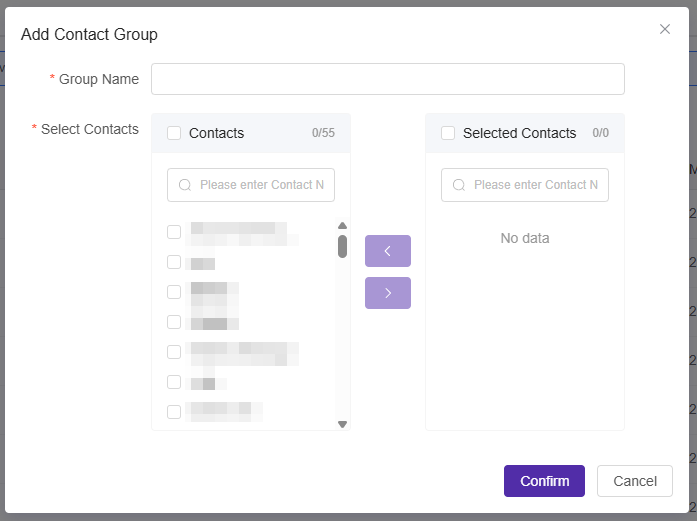
Contact Group Management
- Click the tab to switch to Contact Group Management.
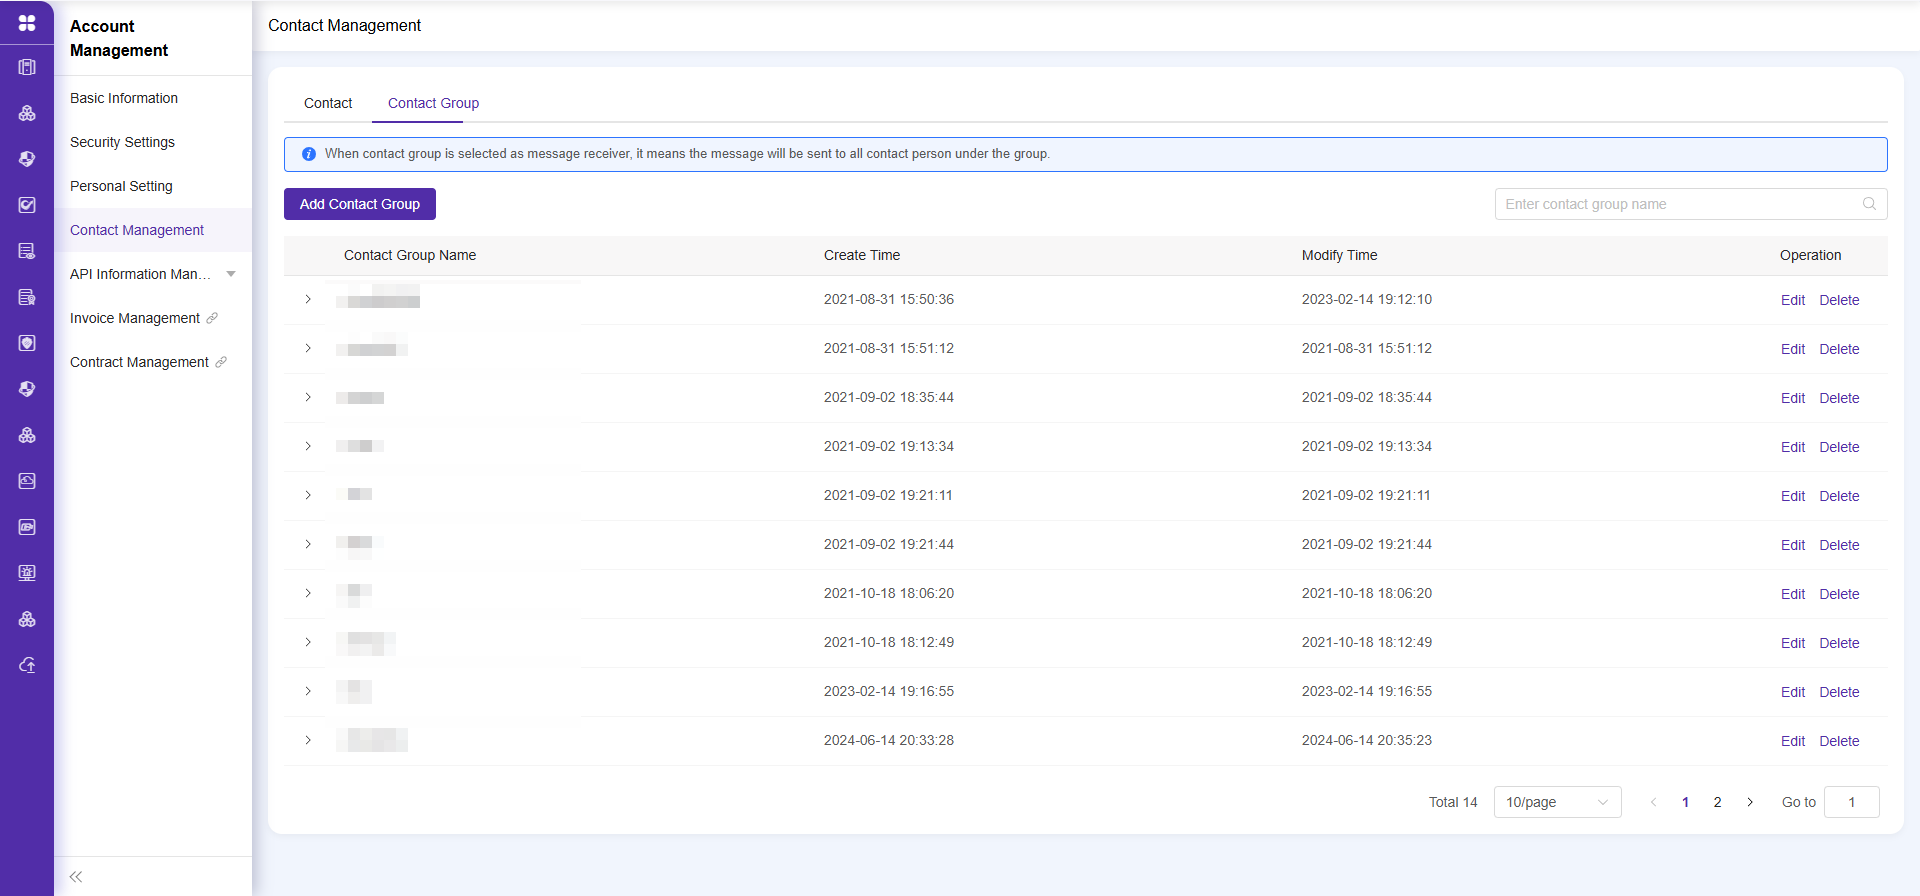
- Click Create Contact Group. You can select existing contacts and group them for batch notification purposes.
Is the content of this document helpful to you?
Yes
I have suggestion