Create and Manage Alert Rules
Last update:2025-07-15 11:20:04
This guide provides detailed instructions on how to create and manage alert rules in the Cloud Monitor service to help you achieve automated monitoring and timely responses for your cloud resources.
Alert Rule Overview
Alert rules are a core feature of Cloud Monitor, allowing you to define trigger conditions. When a resource’s performance metrics meet these conditions, the system automatically sends a notification to designated contacts.
You can set up alerts based on two main data types:
- Real-time data: Used to monitor instantaneous changes in metrics, ideal for operational scenarios that require immediate responses, such as discovering sudden traffic surges, performance degradation, or security attacks.
- Monthly/Daily data: Used to calculate and monitor aggregated data over a specific period (e.g., total traffic, peak bandwidth). This is primarily used for cost accounting, capacity planning, and other billing and operational analysis scenarios.
Prerequisites
Before creating alert rules, please ensure you have configured the Contacts and Contact Groups that will receive alert notifications in [Alert Contacts].
1. Creating an Alert Rule
- Log in to the Cloud Monitor console.
- In the left navigation menu, select Alerts > Alert Rules.
- On the Alert Rules page, click Add Alert Rule.
- Follow the steps on the page to complete the configuration.
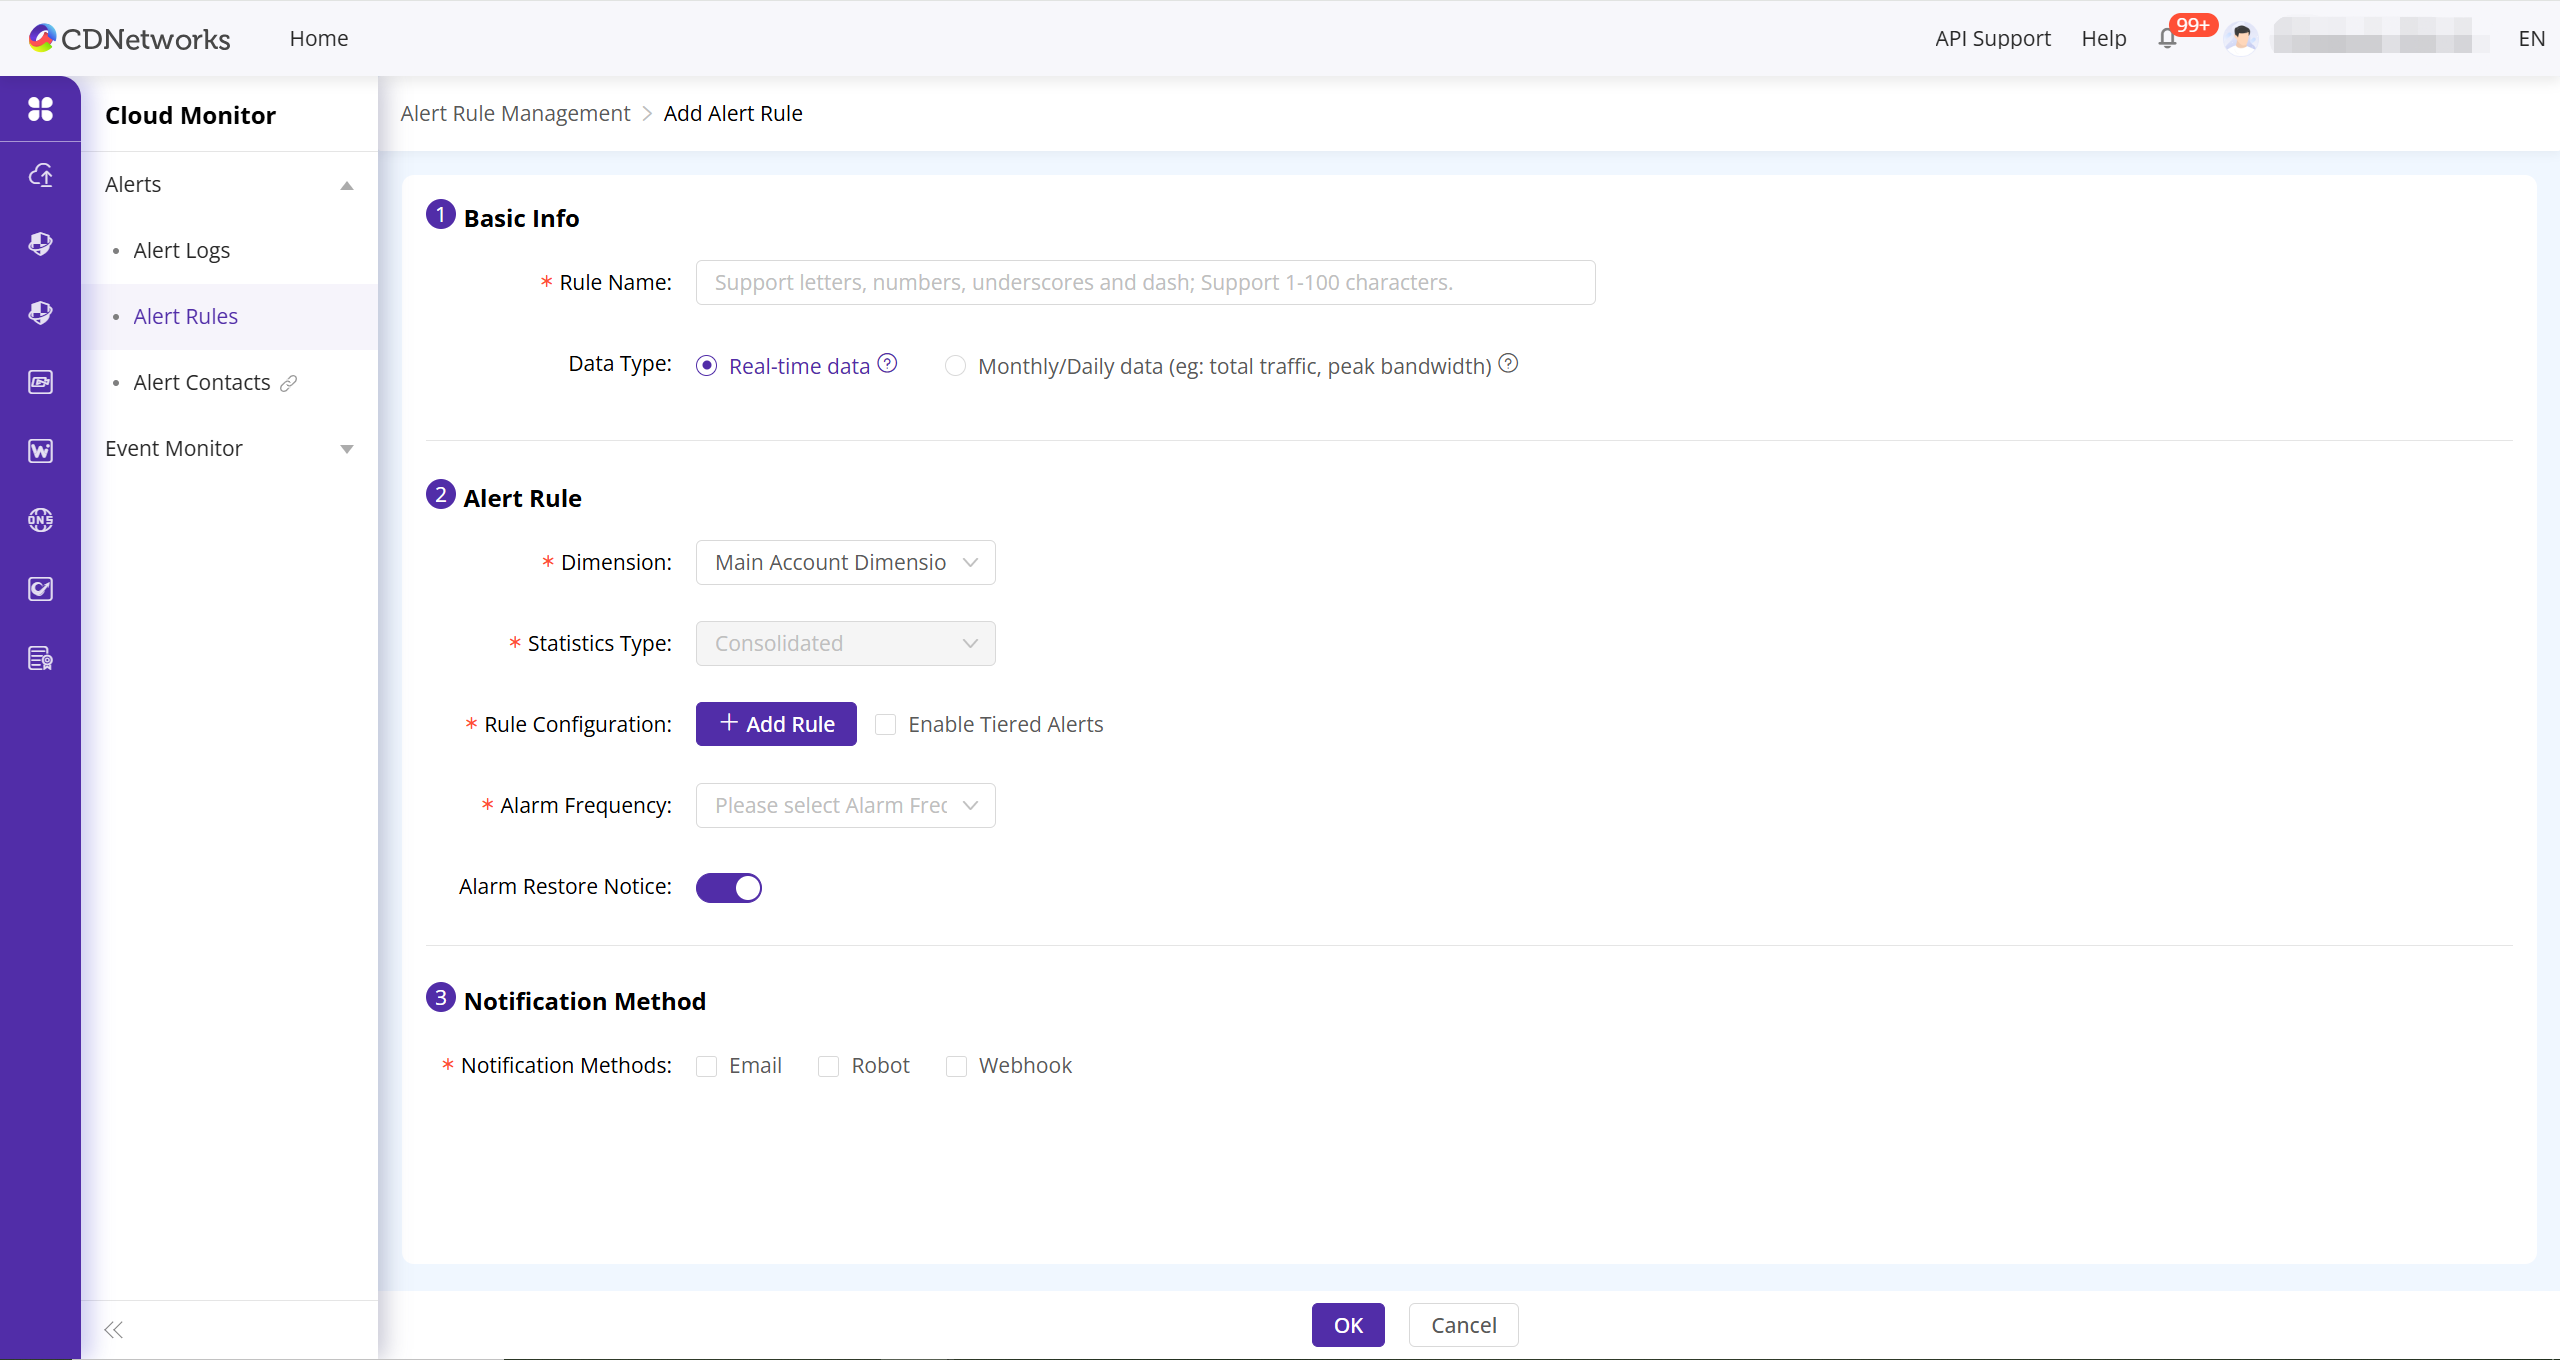
Step 1: Basic Info
- Rule Name: Set a unique name for your alert rule. This name will be used as the subject of the alert notification, so a clear and descriptive name is recommended.
- Data Type:
- Select Real-time data for operational purposes.
- Select Monthly/Daily data for billing and usage analysis. If you choose monthly, you will need to specify the start day of the monthly billing cycle.

Step 2: Alert Rule
- Dimension: Choose the scope of resources you want to monitor. This can be Main Account Dimension (all resources), Domain Dimension, a specific Control Group, or a specific product like Dynamic Web Acceleration.
- Statistics Type:
- Consolidated: Monitors the combined metric data from all selected objects in the dimension. For example, if you are monitoring the bandwidth of 5 domains, the system will compare the sum of their bandwidth against the threshold.
- Separate: Monitors each selected object in the dimension individually. For example, if monitoring 5 domains, an alert will be triggered if any single domain’s bandwidth meets the rule’s condition.
- Note: This option cannot be edited when the “Data Type” is set to “Monthly/Daily data”; it defaults to Consolidated.
- Rule Configuration: Click + Add Rule to define the conditions that will trigger an alert.
- Period: (Real-time data only) Set the time period during which the rule is active (e.g., business hours from 09:00 to 18:00).
- Trigger Logic: You can add multiple conditions and choose to trigger the alert when the metric meets Any or All of the following conditions.
- Continuation Period: Require a condition to be met for N consecutive periods before an alert is triggered. This helps avoid false alarms from momentary spikes. For example, you can set a rule to trigger only when “bandwidth > 100Mbps” is true for 3 consecutive 1-minute periods.
- Conditions: Set the Metric, Comparison Operator (e.g., >, <, =), and Threshold you want to monitor.
- Alarm Frequency: Set how often alert notifications are sent while an alert is active.
- Alarm Restore Notice: Toggle on to receive a notification when the alert condition is no longer met and the alert is resolved.

Step 3: Notification Method
- Notification Methods: Choose the channels for sending notifications, including Email, Robot, and Webhook.
- Recipients: Select the Contacts or Contact Groups to receive the alert notifications.

Complete Creation
After completing all configurations, click the OK button. Your alert rule will take effect immediately.
2. Managing Existing Alert Rules
You can perform the following management operations on created alert rules:
- Return to the Alerts > Alert Rules page.
- Find the rule you want to manage in the list and perform one of the following actions:
- Edit: Click Edit to modify the rule’s parameters.
- Disable/Enable: Click Disable when you temporarily do not need a rule. You can Enable it later to reactivate it.
- Delete: Click Delete to permanently remove a rule you no longer need. You can also select multiple rules and perform a Batch Delete.
- Alert Logs: Click Alert Logs to view the details of all alerts triggered by that specific rule, which is useful for troubleshooting and analysis.