使用Okta进行SAML SSO的示例
更新时间:2026-03-25 15:25:38
Okta SAML接入操作步骤
登录OKTA 配置应用
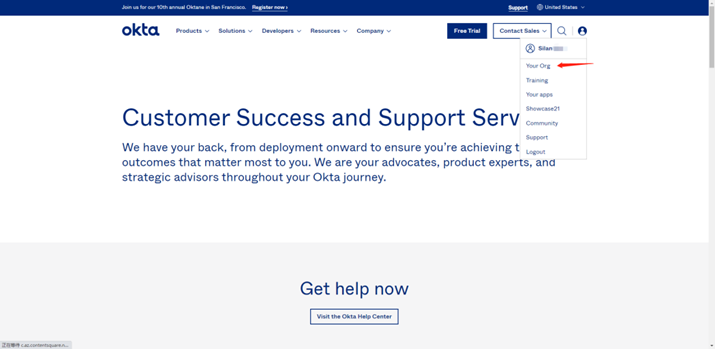
1.以管理员身份登录 Okta 平台 ,右上角点击「Your Org」或 [管理员]
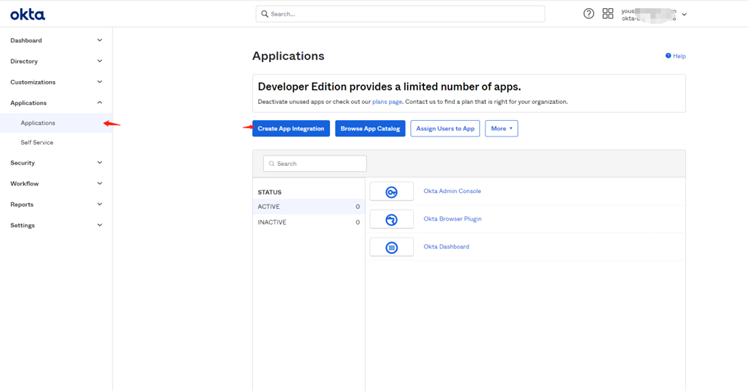
2.选择「Applications」- 「Applications」-「Create App Integration」,创建应用。
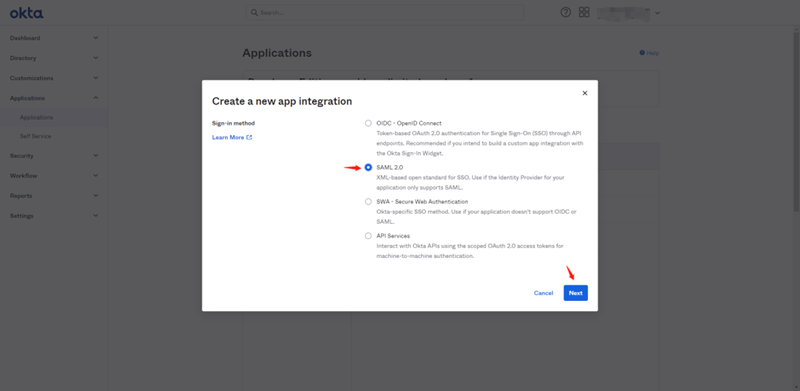
3.选择应用类型「SAML2.0」,点击「Next」进入配置页面。
(1)填写通用配置(General Settings),配置内容如下:
App name:应用名称;
App logo(可选):应用的log标识;
App visibility:勾选“Do not display application icon to users”

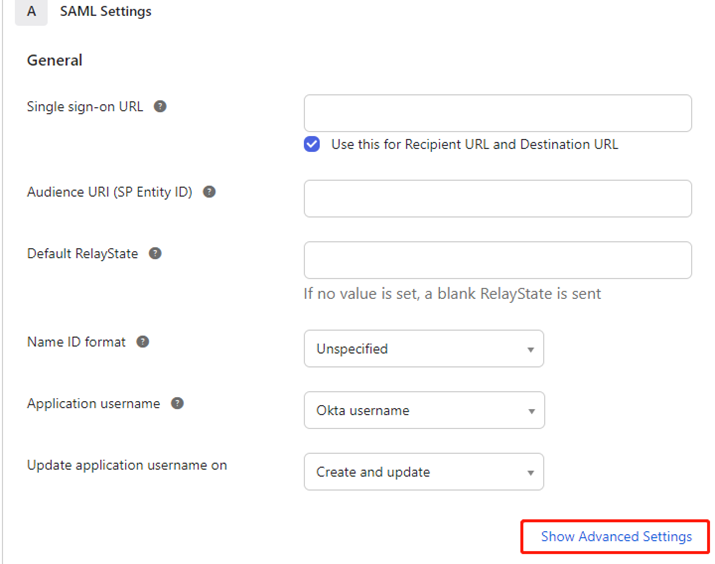
(2)点击“Next”,填写 Configure SAML,配置内容如下:
Single sign-on URL:
https://login.cdnetworks.com/cas/login?client_name=${provider}
提供商创建方式参考:进行SSO时SP的SAML配置
(3)勾选“Use this for Recipient URL and Destination URL”;
(4)Audience URI (SP Entity ID) 配置:https://login.cdnetworks.com
(5)application username:Okta username
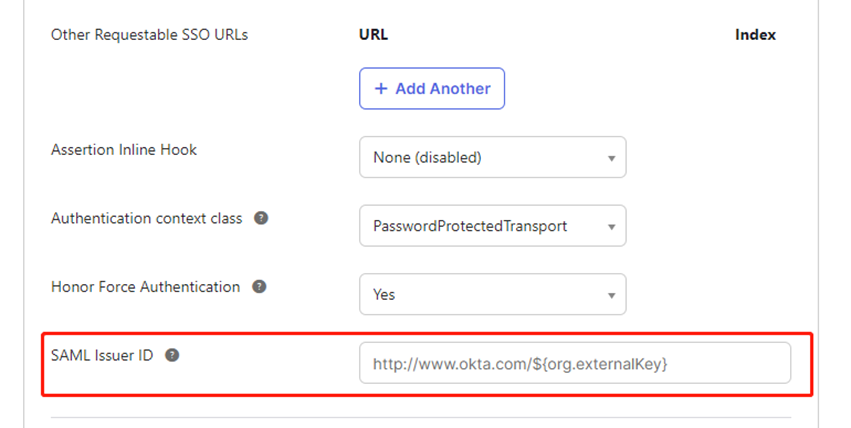
(6)Show Advanced Settings配置:
SAML Issuer ID :可自定义,不填则按照默认值自动生成
(7)Attribute Statements (optional)
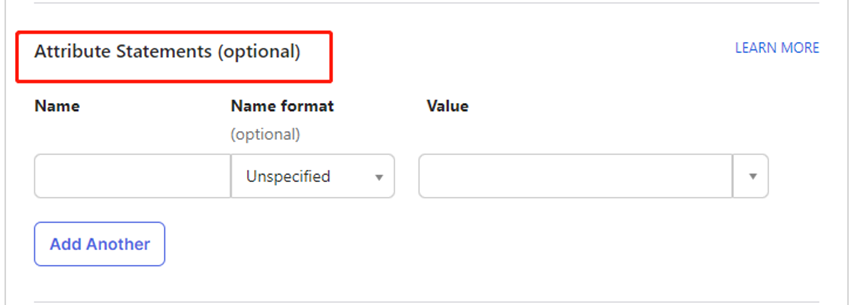
填写配置:
Name:
https://login.cdnetworks.com/SAML/Attributes/LoginName
Value:
wsc:iam::${parentLoginName}:login-name/${loginName},wsc:iam::${parentLoginName}:saml-provider/${provider}
${parentLoginName}:替换为您在CDNetworks对应的主账号;
•${loginName}:替换为您当前IdP用户要访问CDNetworks所使用的CDNetworks账号;
•${provider}:替换为您在CDNetworks控制台上创建的SAML身份提供商名称。
参考文档:SSO的SAML响应
(8)点击“Next”,根据实际业务场景,选择对应选项后点击“Finish”。


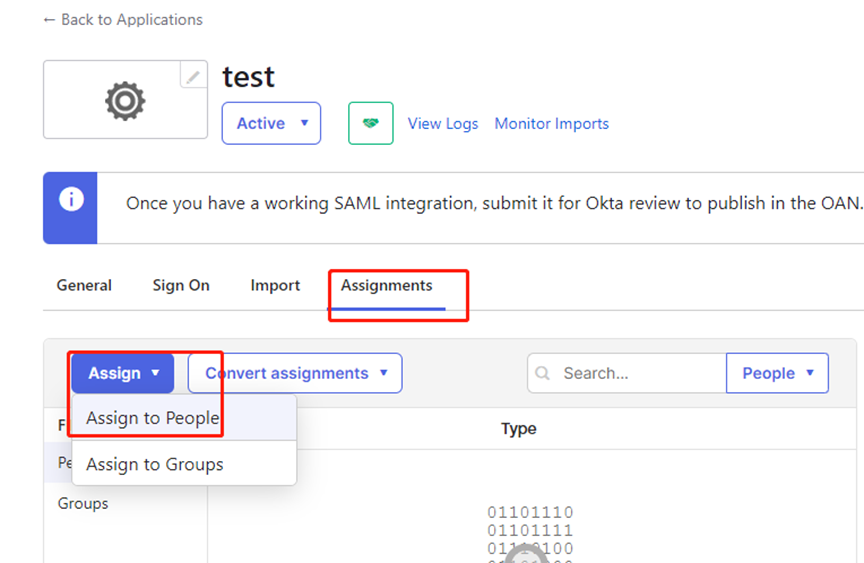
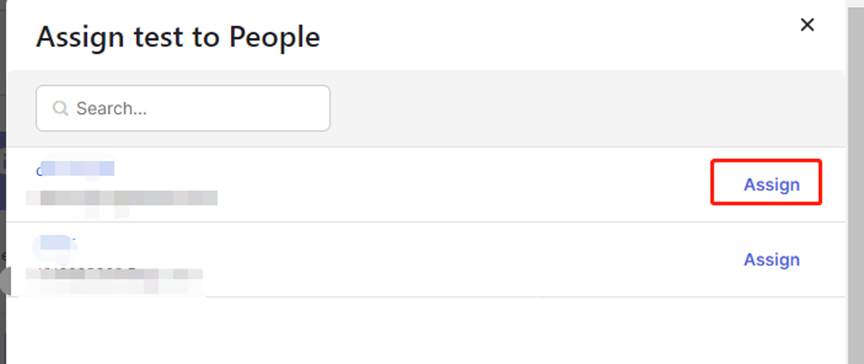
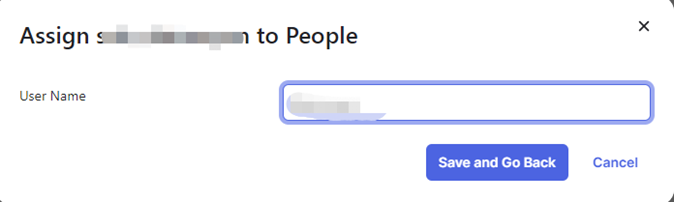
(9) Assignments (分配用户)

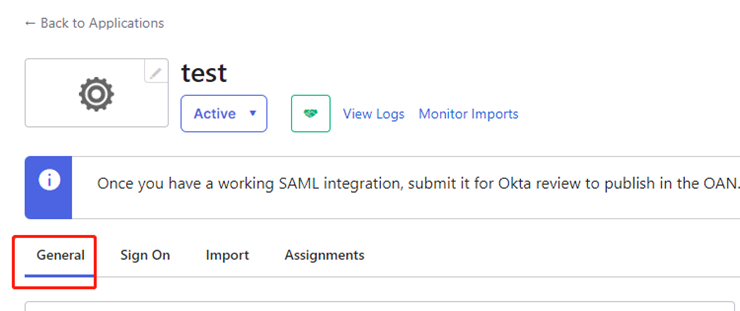
(10) UserName设定完成后回到基础配置页, 再次进入Saml Settings。

(11) Attribute Statements (optional) 中再添加一条配置:
Name:
https://login.cdnetworks.com/SAML/Attributes/RoleSessionName
Value:
${NameID} — 此处填写值为步骤(9)中填写的User Name
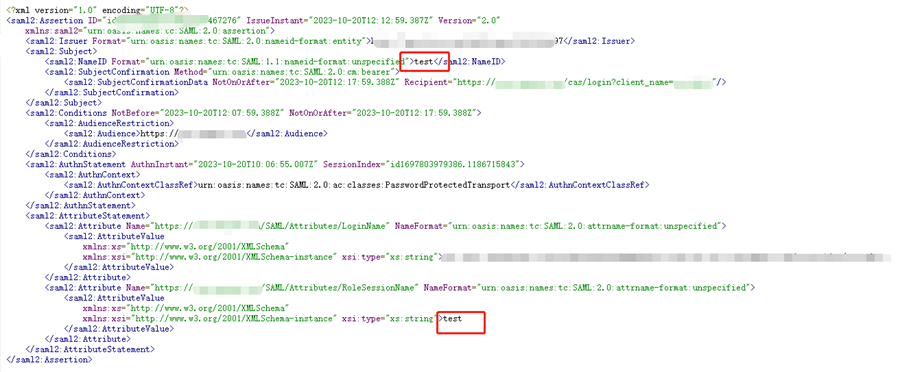
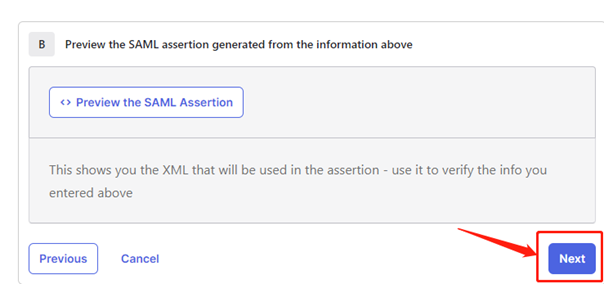
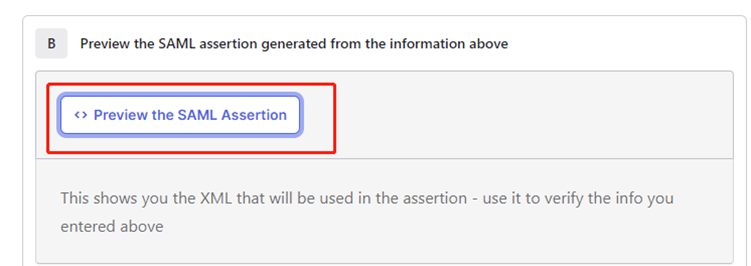
(12) 预览Saml配置

注意:检查NameId的值是否与 RoleSessionName中的Value值是否一致。
确认无误后,点击 “Next”,然后点击“Finish”,到此Okta的所有配置完成。

CDNetworks控制台提供商信息配置
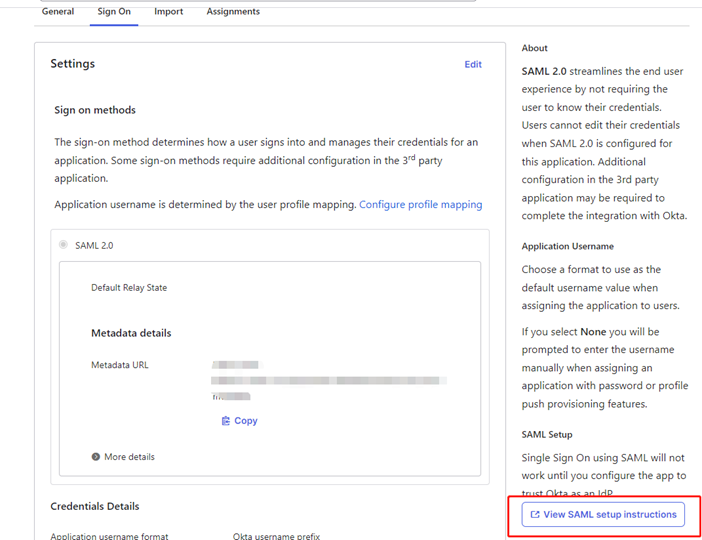
1.查看Okta元数据文档


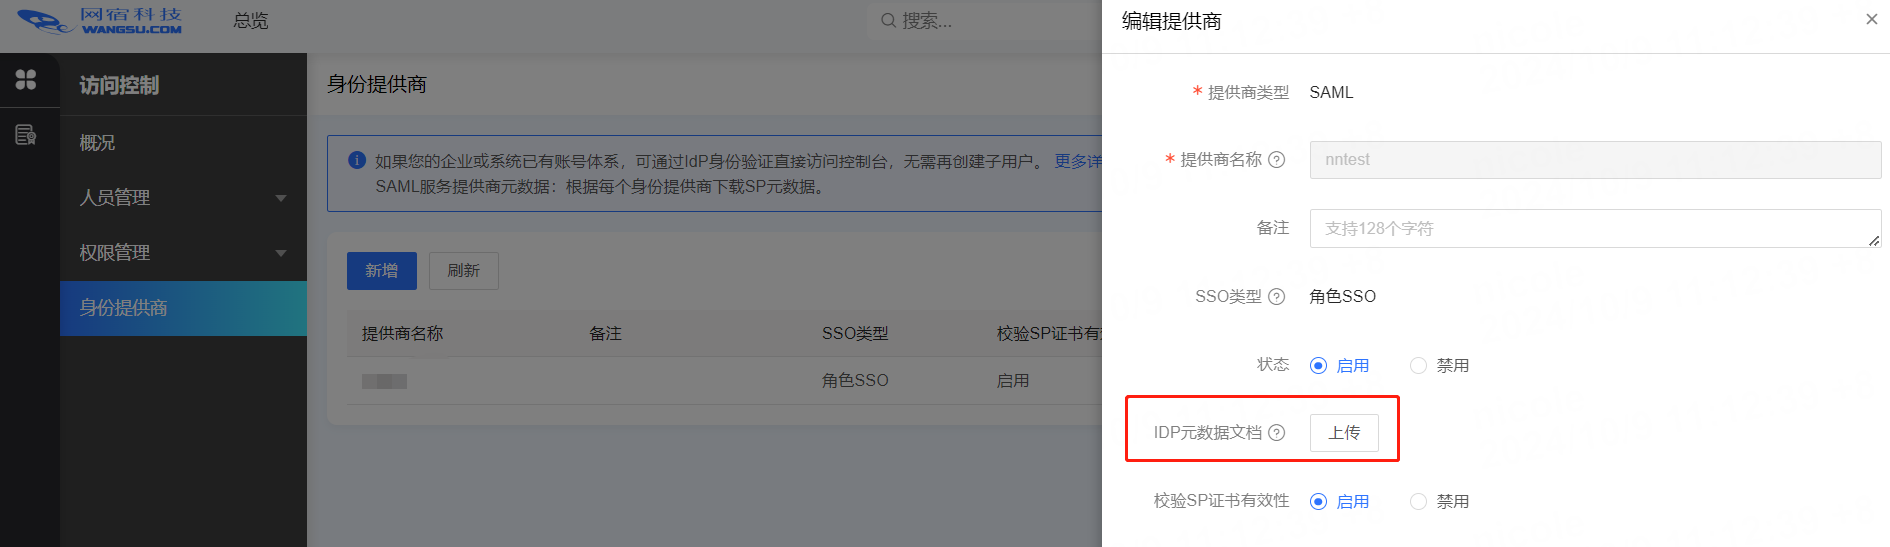
2.将元数据文件上传至CDNetworks控制台
参考文档:进行SSO时SP的SAML配置
访问测试
1.CDNetworks跳转Okta认证
浏览器直接访问地址https://login.cdnetworks.com/cas/clientredirect?client_name=${provider},确认是否跳转okta登录页面。
2.Okta跳转CDNetworks认证
Okta登录认证通过后,跳转CDNetworks实现单点登录,无需输入账号密码。
常见问题
1.问题:登录认证失败,出现以下提示信息
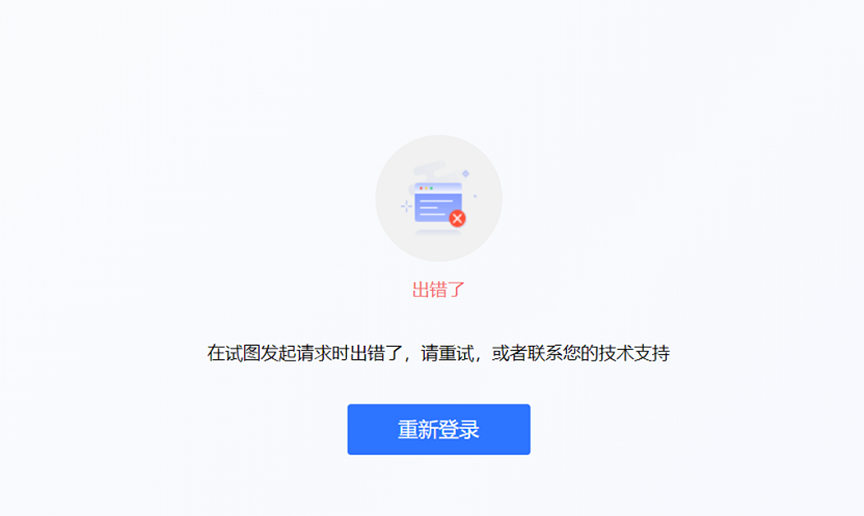
解决方案:
预览SAML信息
确认其中的Issuer的配置值与CDNetworks控制台上传的元数据文件中的entityID是否一致


发现不一致的话,重新进行第二部分的步骤,下载最新配置重新上传。
其他常见问题参考文档:身份提供商配置常见问题