
Example of Using Okta for SAML SSO
최신 업데이트:2026-03-25 15:25:38
Okta SAML Integration Steps
Log in to OKTA to configure the application
-
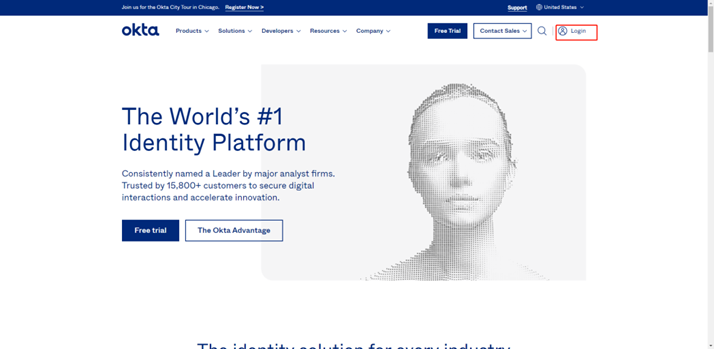
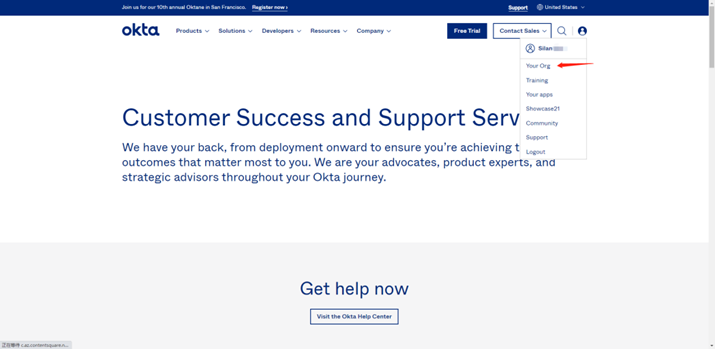
Log in to the Okta platform as an administrator. In the upper right corner, click “Your Org” or [Admin].
-
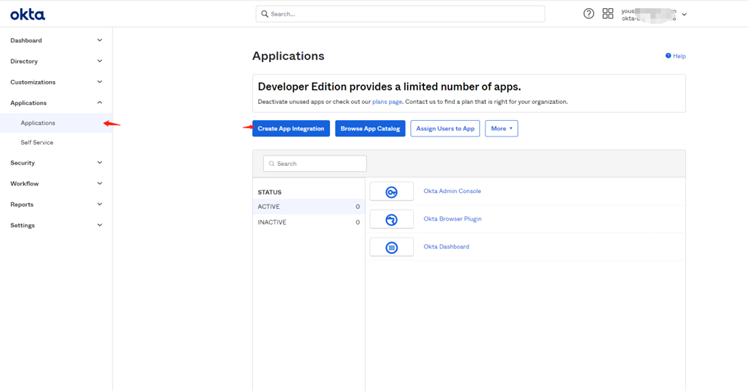
Select “Applications” - “Applications” - “Create App Integration” to create an application.
-
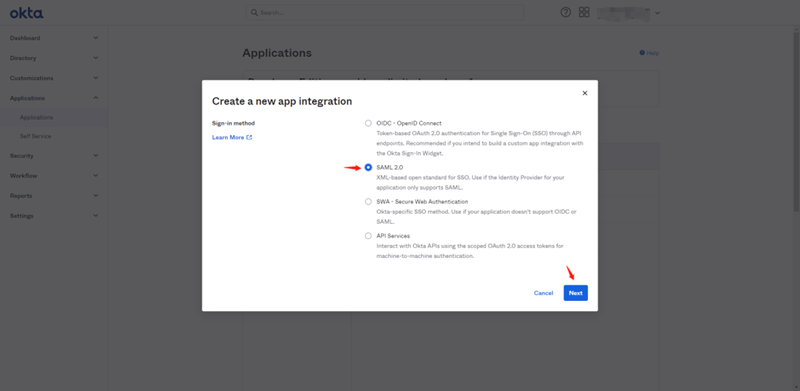
Select the application type “SAML2.0” and click “Next” to enter the configuration page.
(1) Fill in the General Settings. Please configure as follows:
App name: Application name;
App logo (optional): Application logo identifier;
App visibility: Select “Do not display application icon to users”
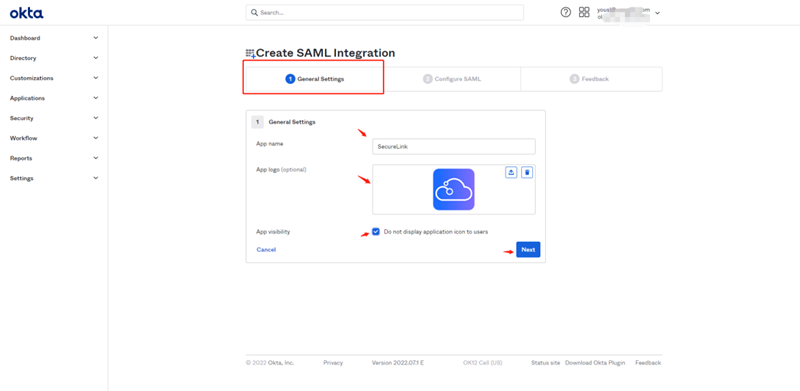
(2) Click “Next” and complete the Configure SAML section as follows:
Single sign-on URL:
https://login.cdnetworks.com/cas/login?client_name=${provider}
Reference for provider creation: SAML Configuration for SP during SSO
(3) Select “Use this for Recipient URL and Destination URL”;
(4) Audience URI (SP Entity ID) configuration: https://login.cdnetworks.com
(5) application username: Okta username
(6) Show Advanced Settings configuration:
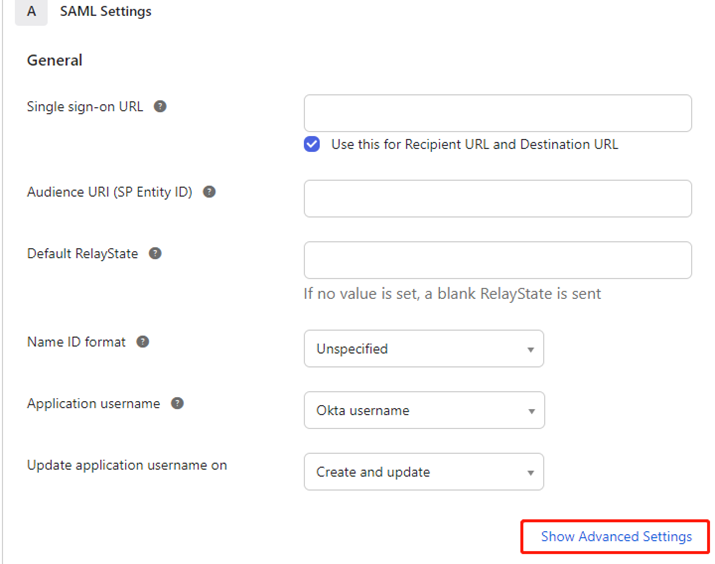
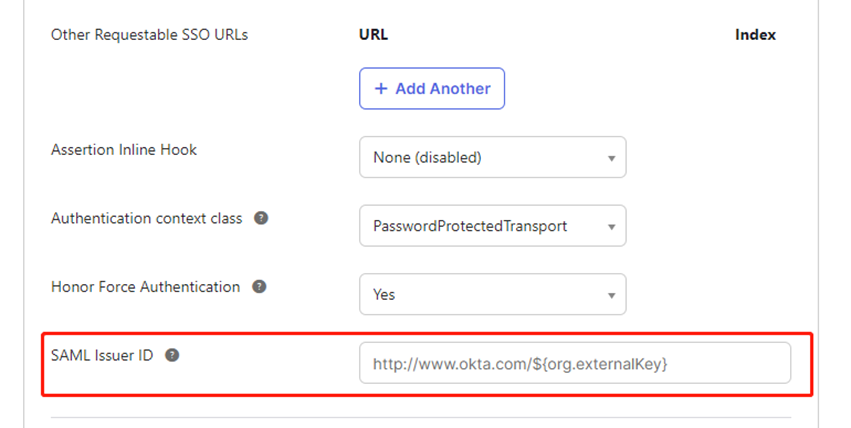
SAML Issuer ID: customizable. If left blank, a default value will be automatically generated.
(7) Attribute Statements (optional)
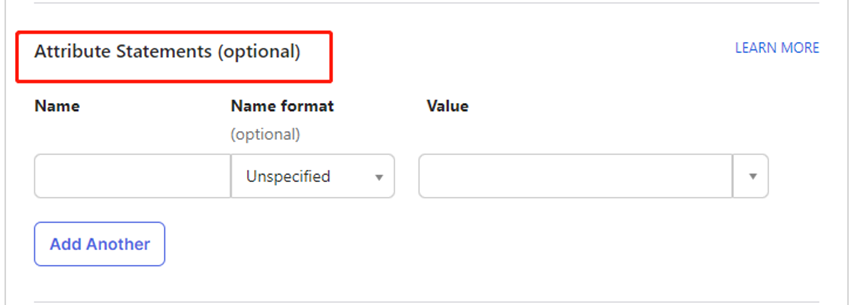
Fill in the configuration:
Name:
https://login.cdnetworks.com/SAML/Attributes/LoginName
Value:
wsc:iam::${parentLoginName}:login-name/${loginName},wsc:iam::${parentLoginName}:saml-provider/${provider}
${parentLoginName}: Replace with your corresponding CDNetworks main account.
• ${loginName}: Replace with the CDNetworks account used by your current IdP user to access CDNetworks.
• ${provider}: Replace with the name of the SAML identity provider you created in the CDNetworks console.
Reference documentation: SSO SAML Response
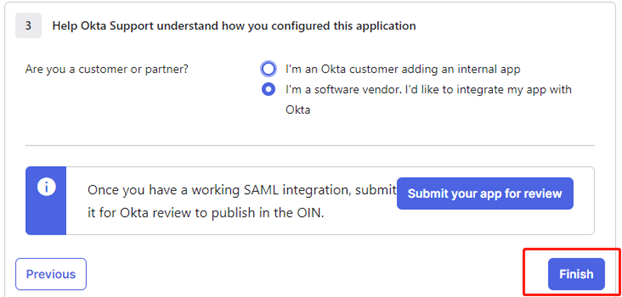
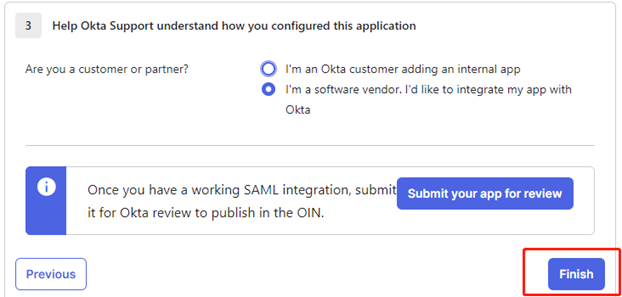
(8) Click “Next”, select the appropriate option based on your actual business scenario, and then click “Finish”.
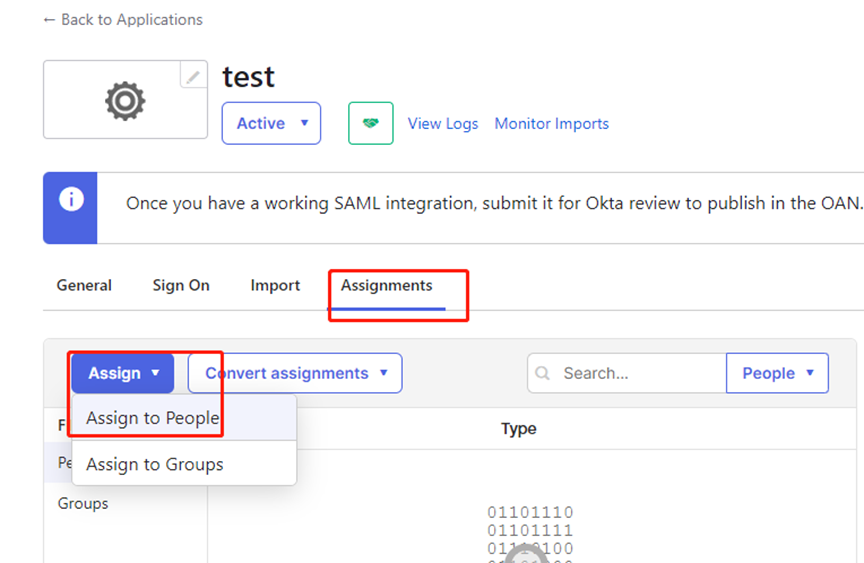
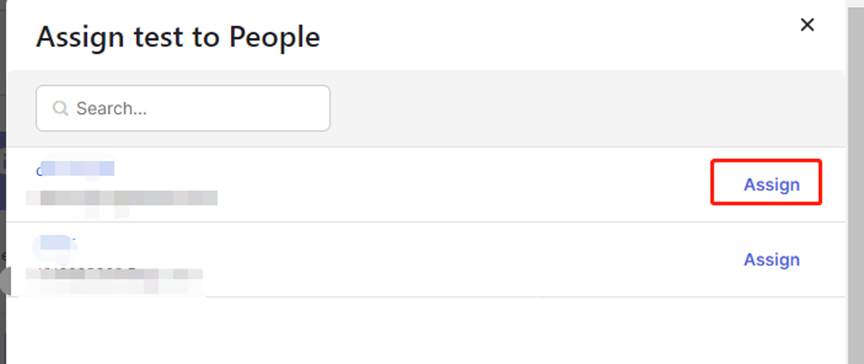
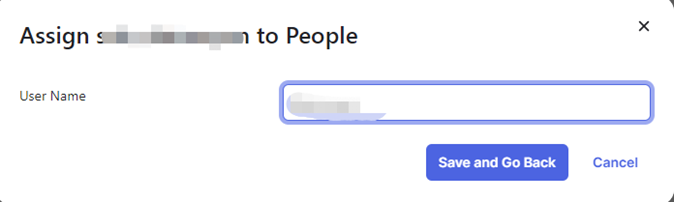
(9) Assignments (User Assignment)
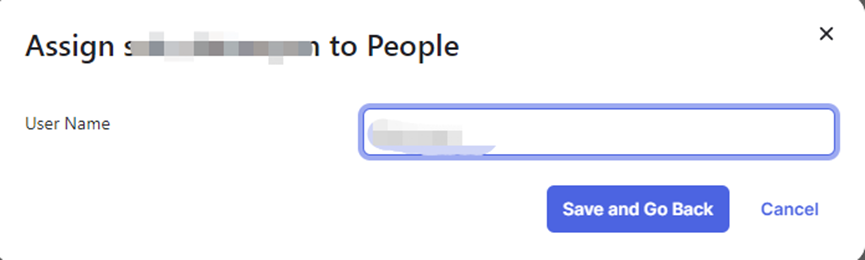
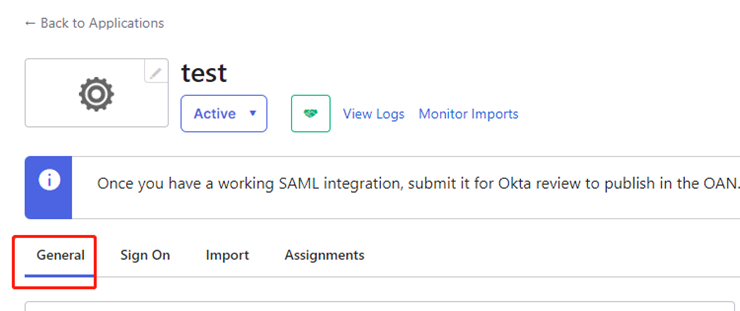
After completing the UserName configuration in step (10), return to the Basic Configuration page and re-enter the Saml Settings.

In (11) Attribute Statements (optional), add another configuration item:
Name:
https://login.cdnetworks.com/SAML/Attributes/RoleSessionName
Value:
${NameID} — The value here should be the User Name specified in step (9).
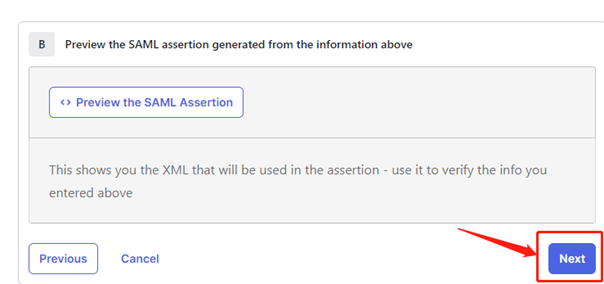
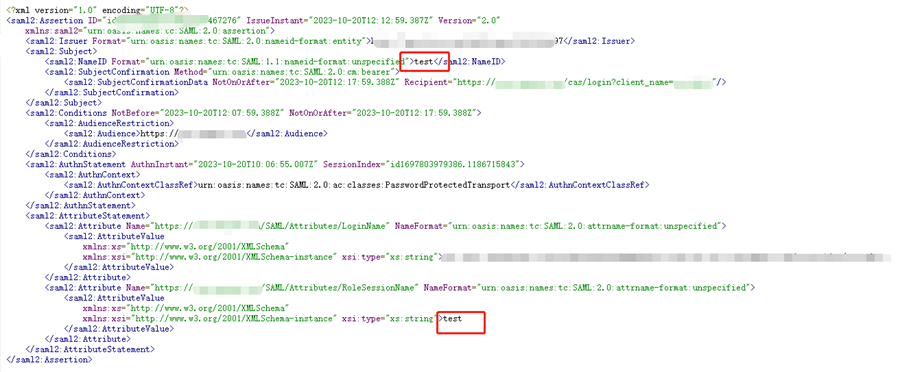
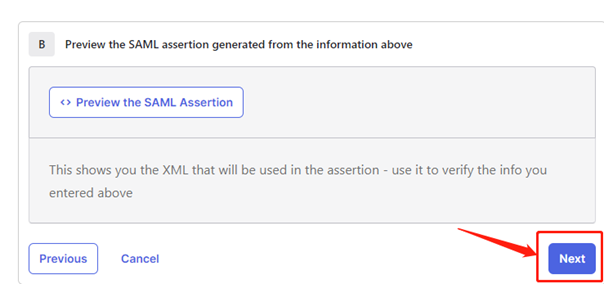
(12) Preview SAML configuration
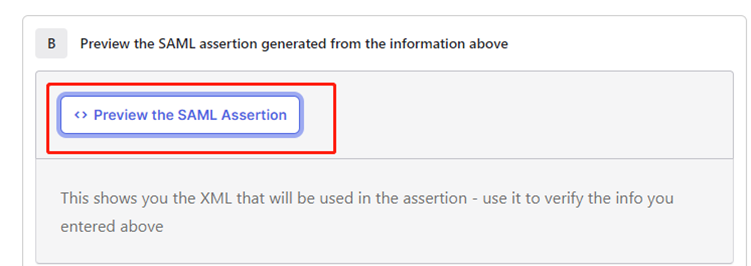
Note: Please check if the value of NameId is consistent with the value in RoleSessionName.
After confirming all details are correct, click “Next”, then click “Finish”. All Okta configurations are now complete.
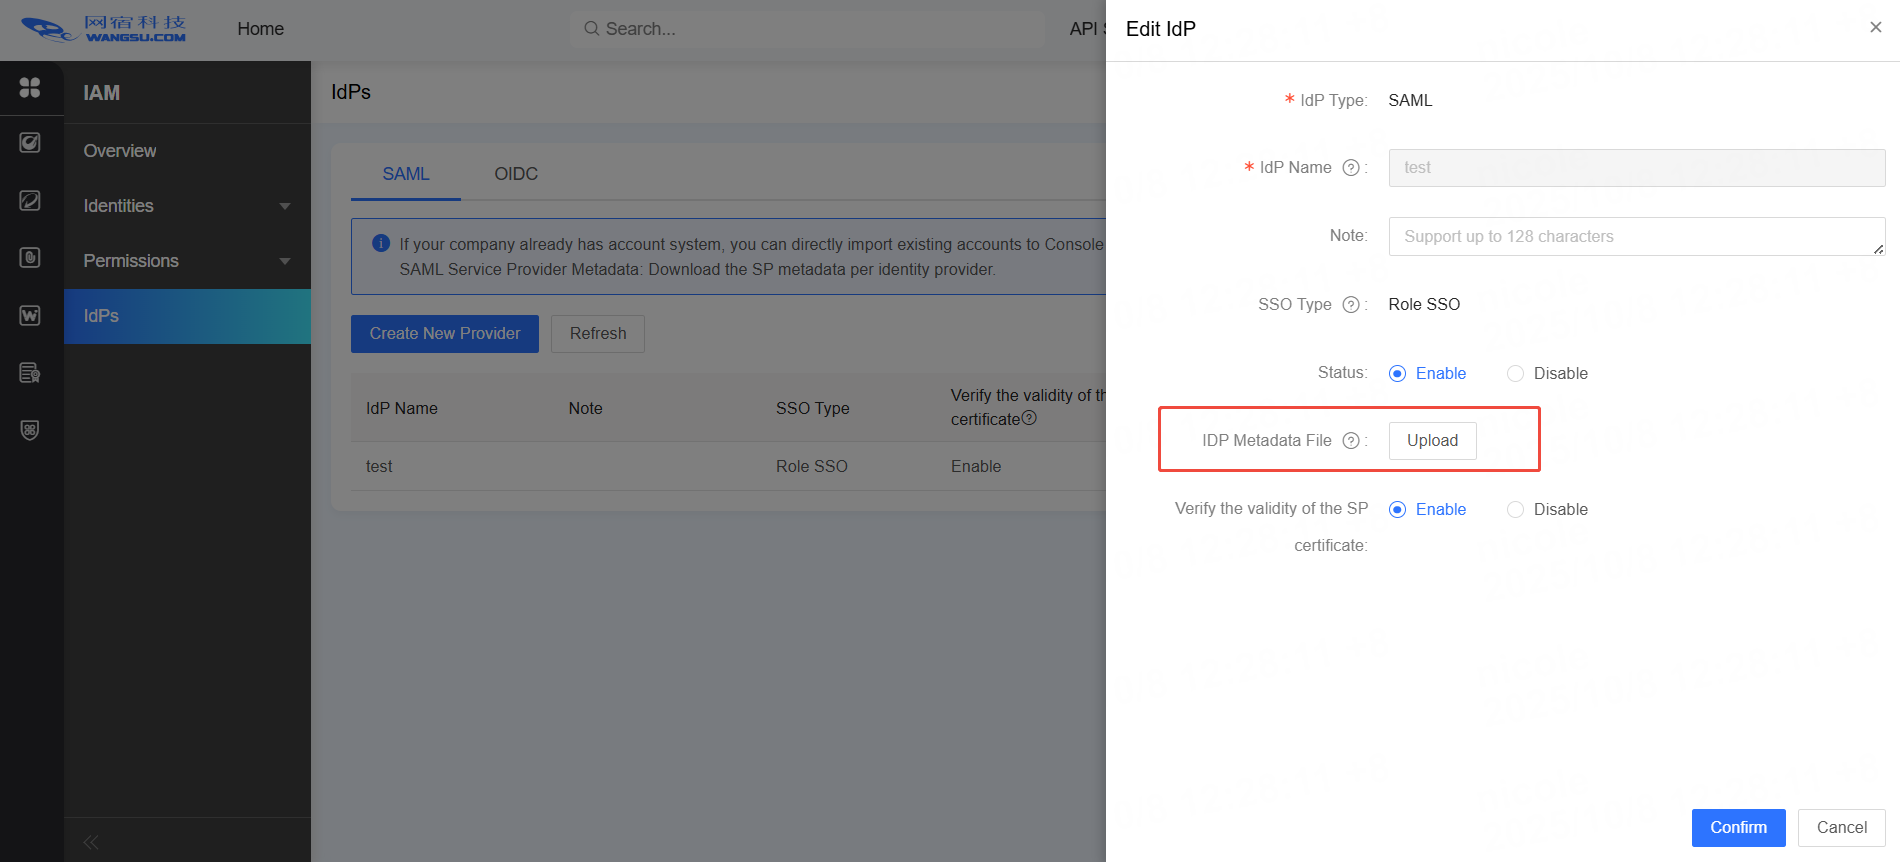
Provider Information Configuration in CDNetworks console
- View Okta metadata documentation
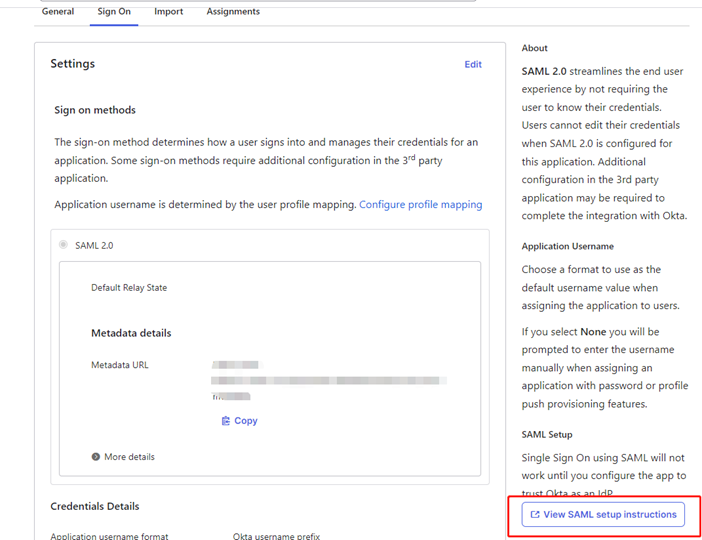


- Upload the metadata file to the CDNetworks console
Reference document: SAML Configuration for SP
Access Test
- CDNetworks redirects to Okta authentication
Access the address https://login.cdnetworks.com/cas/clientredirect?client_name=${provider} directly in your browser to verify whether it redirects to the Okta login page. - Okta redirects to CDNetworks for authentication
After Okta authentication is successful, it will redirect to CDNetworks for Single Sign-On without requiring username and password input.
Frequently Asked Questions
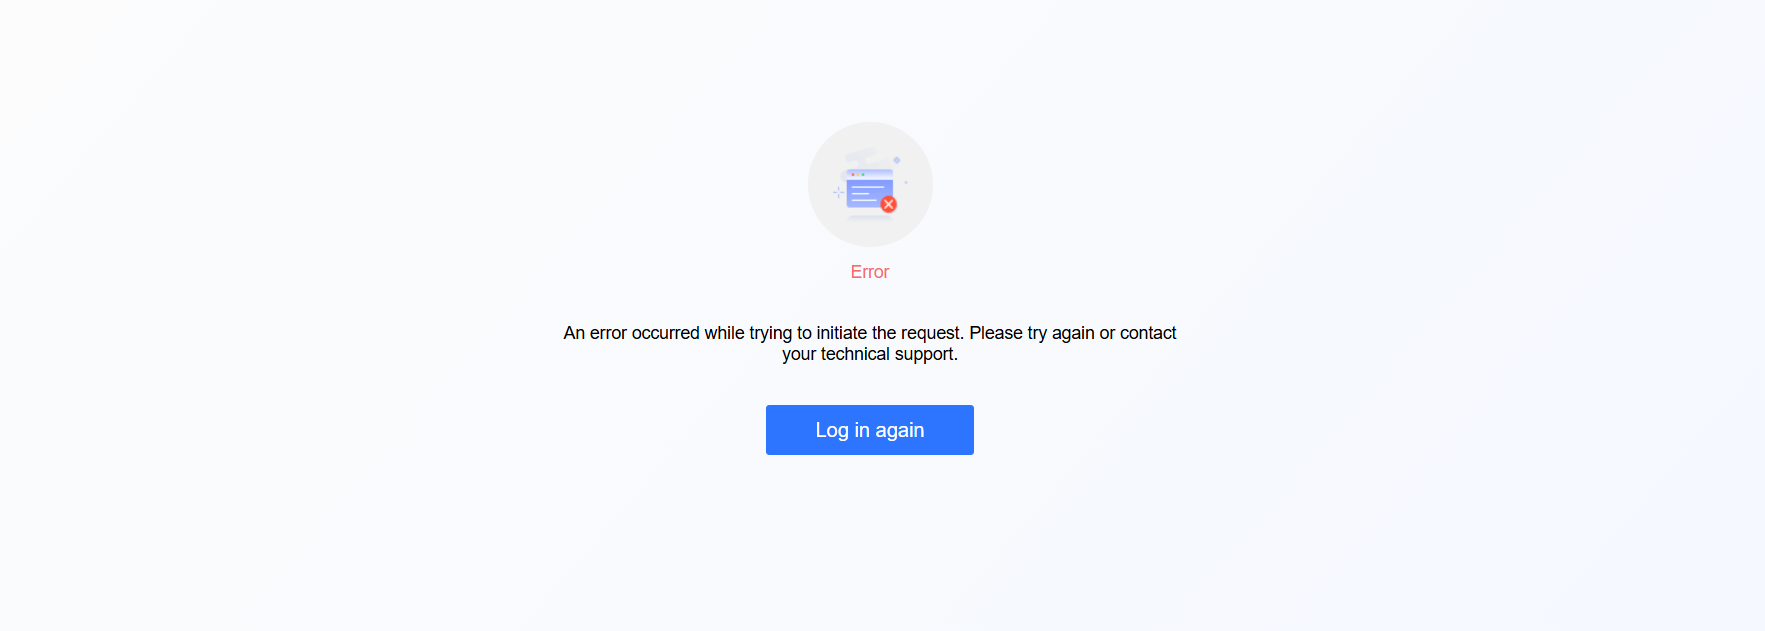
1. Issue: Login authentication failed, displaying the following message
Solution:
Preview SAML information
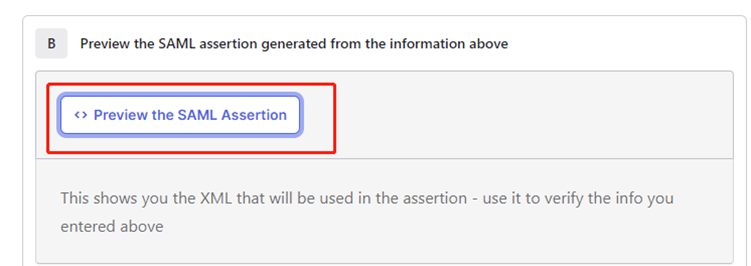
Confirm whether the value of Issuer is consistent with the entityID in the metadata file uploaded to CDNetworks console.


If inconsistencies are found, repeat the steps in part two. Download the latest configuration and re-upload it.
For other common issues, please refer to the documentation: Common Questions on Identity Provider Configuration