Set Up Alert Contacts and Groups
Last update:2025-07-15 11:20:02
To receive alert notifications, you must first create contacts and then organize them into groups. This guide outlines the process.
Create an Alert Contact
An alert contact is an individual who will receive alert notifications.
- Log in to the Cloud Monitor console.
- In the left navigation menu, navigate to Alerts > Alert Contacts.
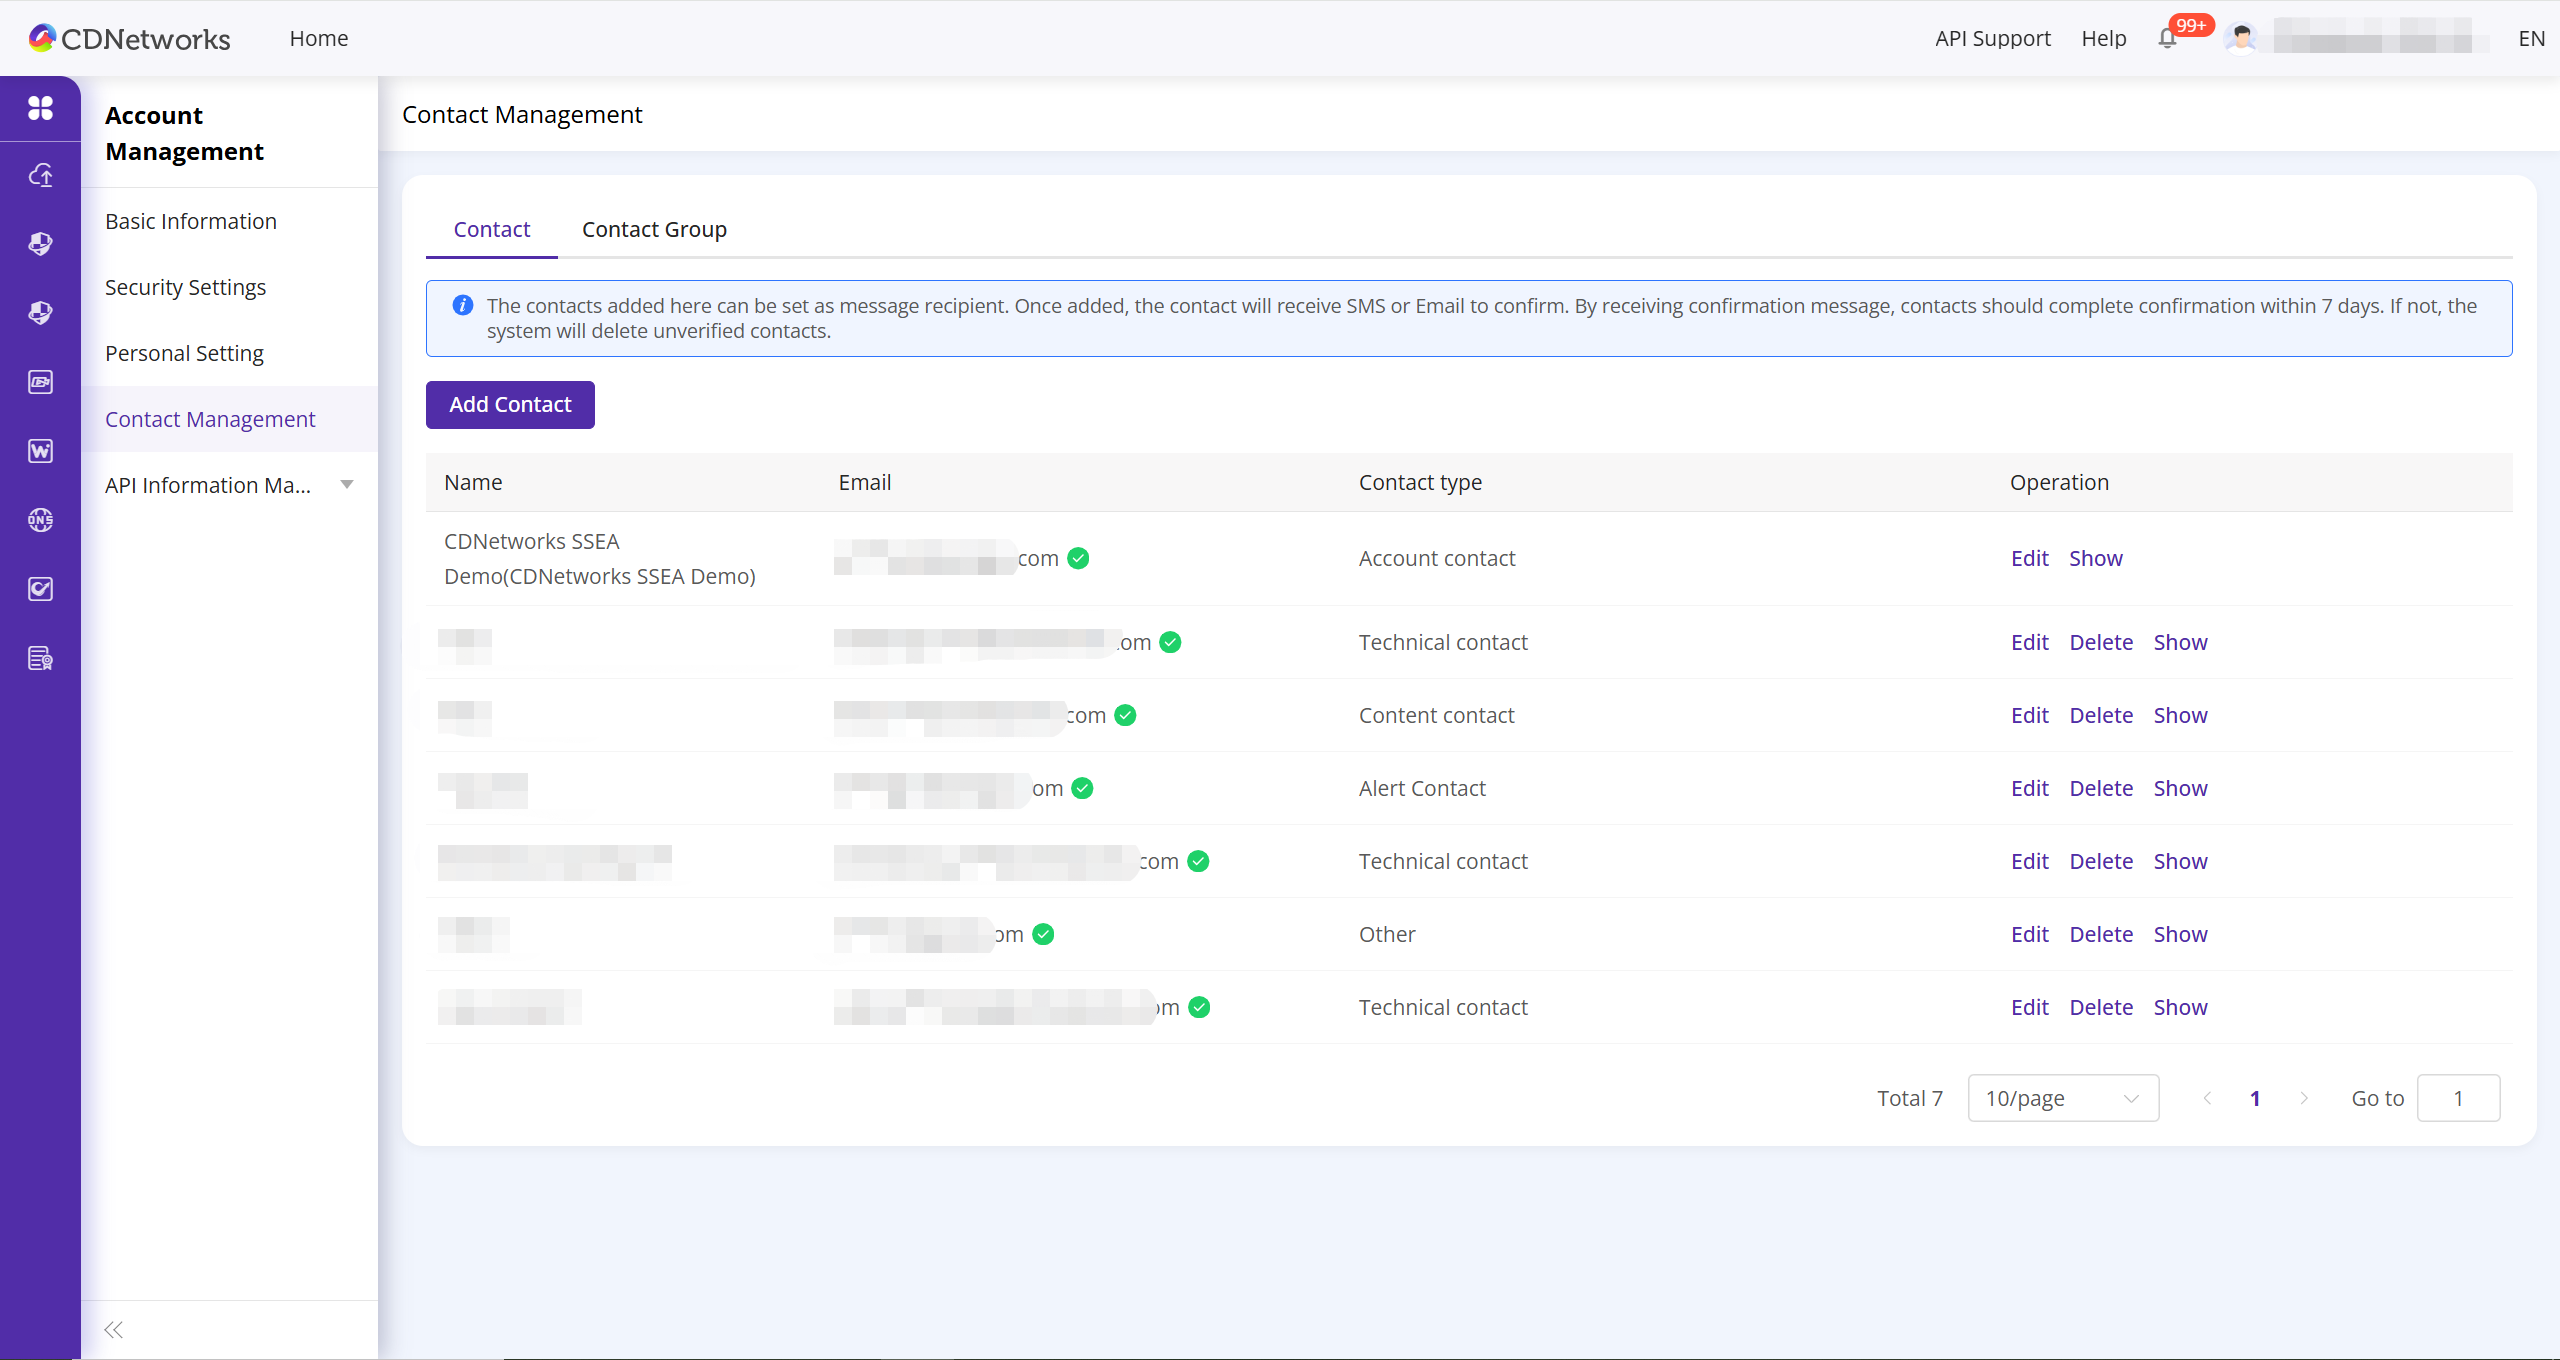
- On the “Contact” tab, click Add Contact.
- In the configuration window, fill in the contact’s name, email address and any relevant notes.
- After verifying the information, click Confirm.
Important: Activate Contact Methods
For a contact to receive notifications, their email address must be activated.
- After a contact is created, they will receive an email containing an activation link.
- Contacts must click the activation link sent to their email and phone within 24 hours. If activation is not completed within this timeframe, the contact will not receive alerts.
- You can verify the activation status in the alert contacts list.
Create an Alert Group
An alert group is a collection of one or more alert contacts. Using groups makes it easy to send notifications to entire teams.
- Log in to the Cloud Monitor console.
- Navigate to Alerts > Alert Contacts.
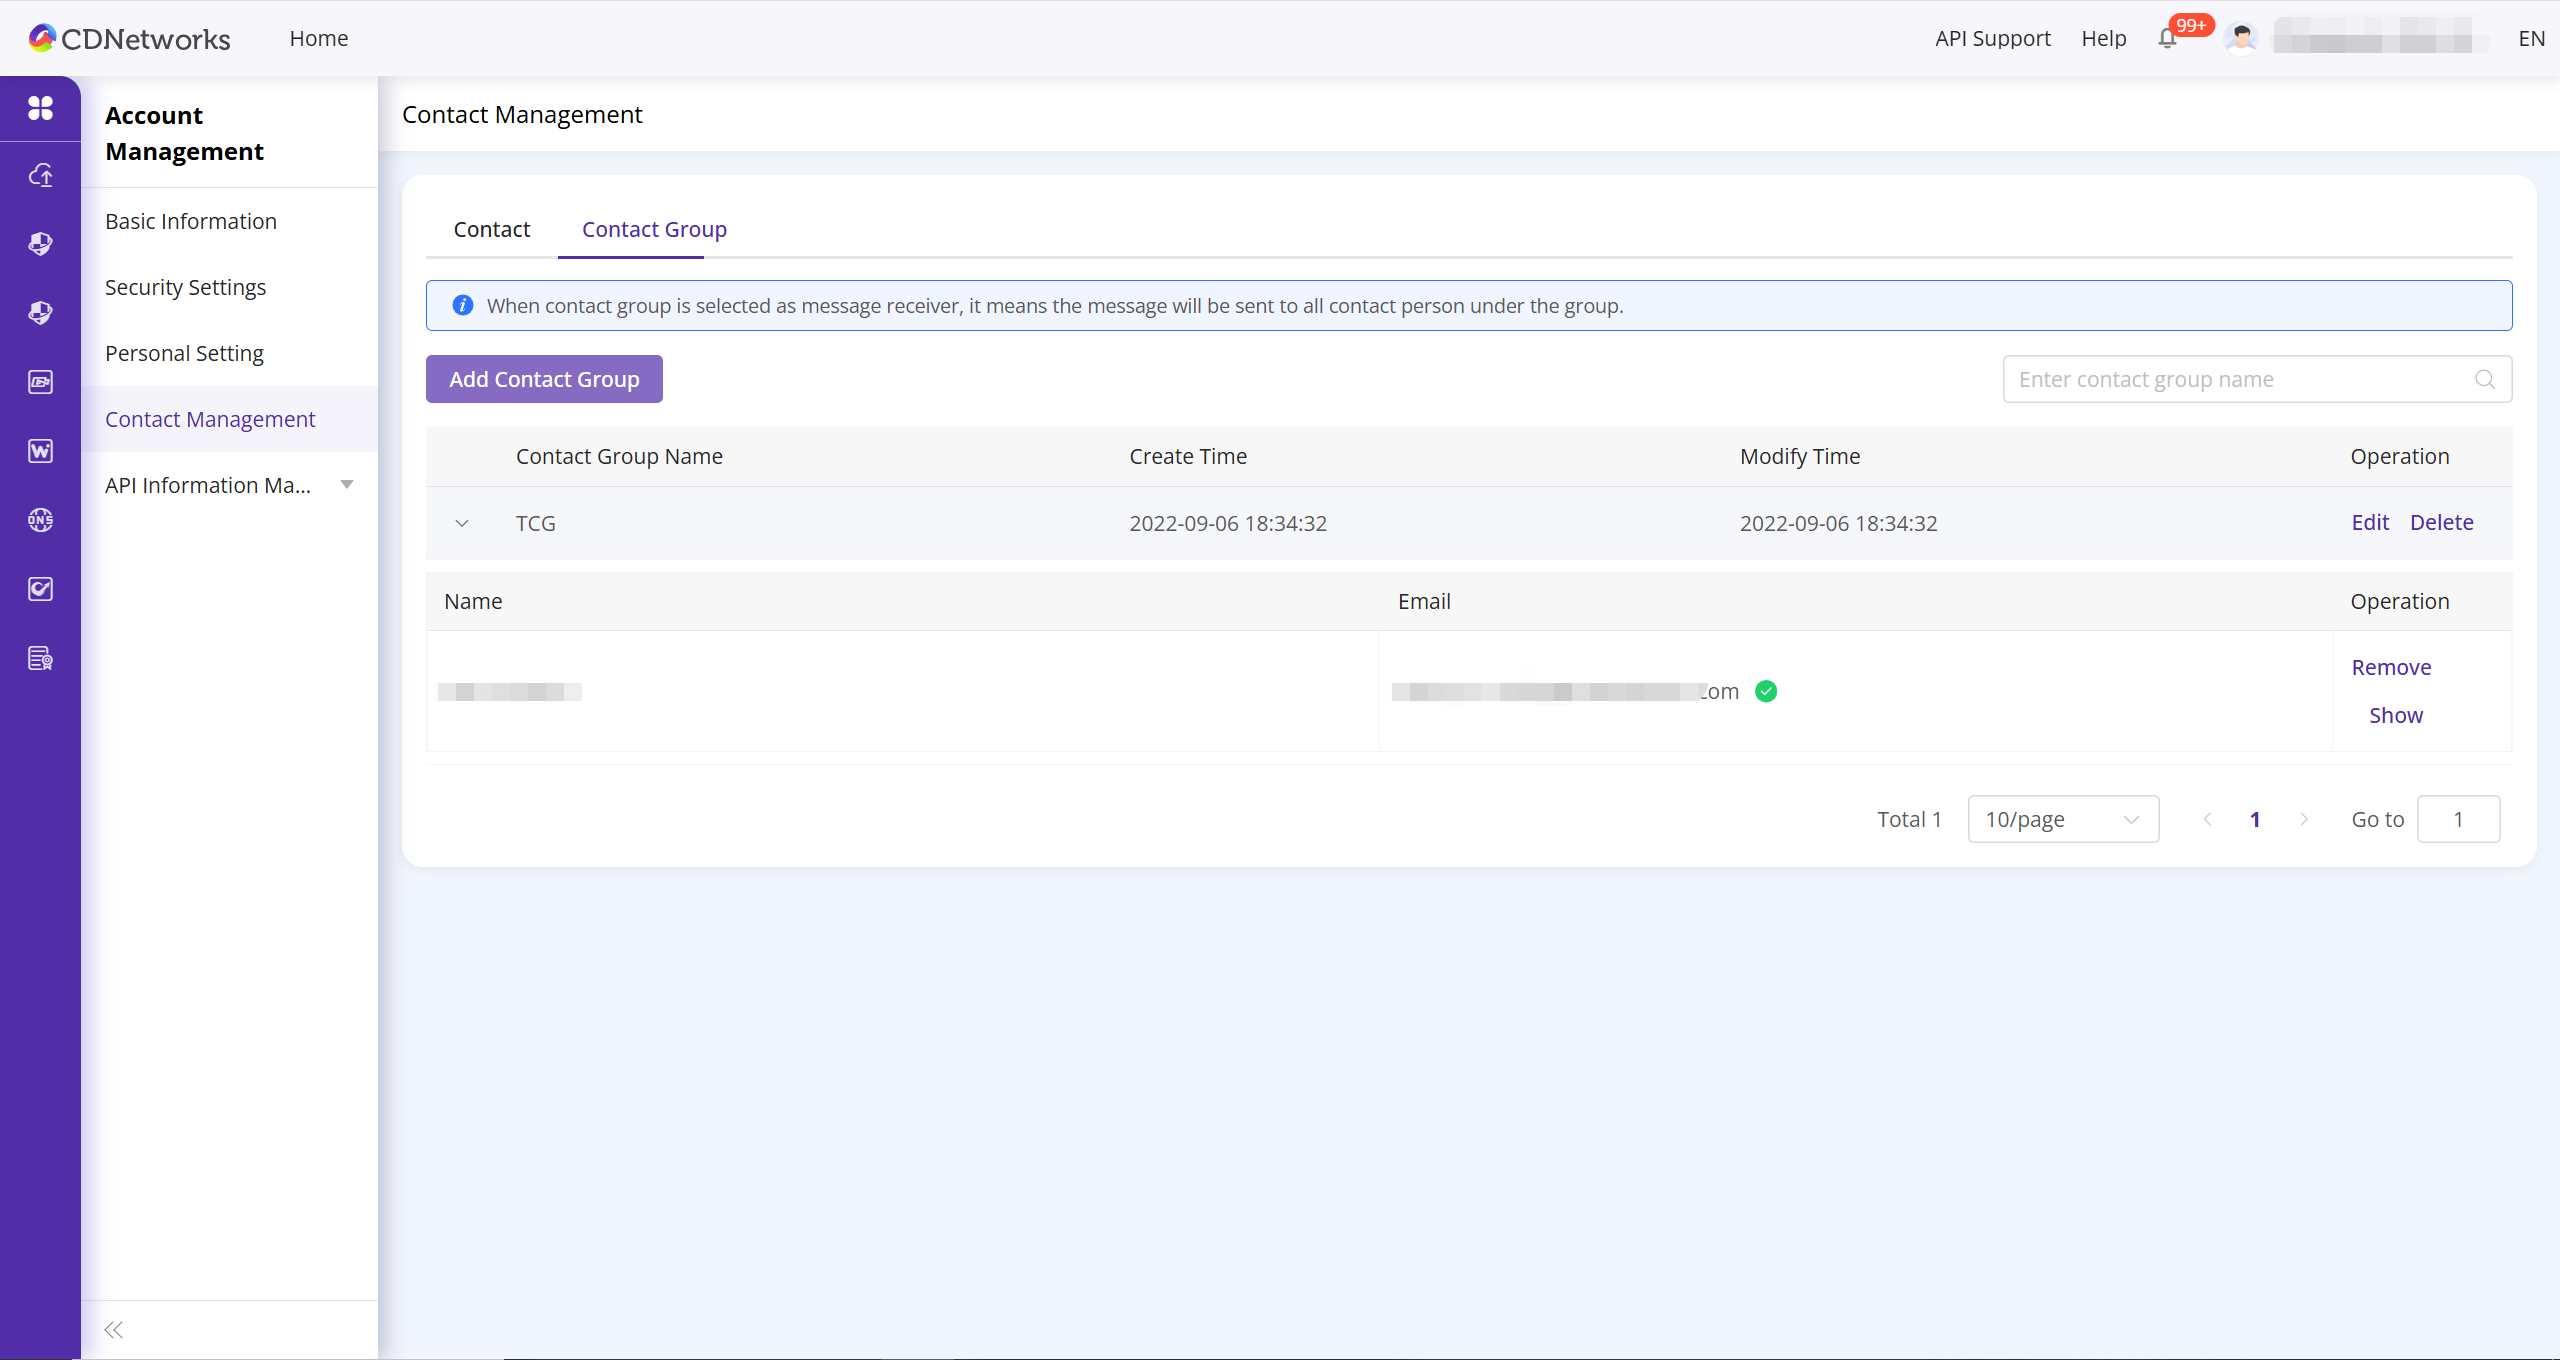
- Click the Contact Group tab.
- On the “Contact Groups” tab, click New Contact Group.
- In the configuration window, enter a name for the group and select the contacts you want to include.
- Click OK.
With your contact groups configured, you can now assign them to your alert rules to ensure the right teams are notified instantly when an issue occurs.
Is the content of this document helpful to you?
Yes
I have suggestion