使用Keycloak进行OIDC SSO的示例
更新时间:2026-03-25 15:16:54
操作步骤
Keycloak部署安装
具体可见:安装部署流程
用户OIDC方式对接CDNetworks配置
1.管理员或管理账号登录到keycloak平台

2.创建新的Realm
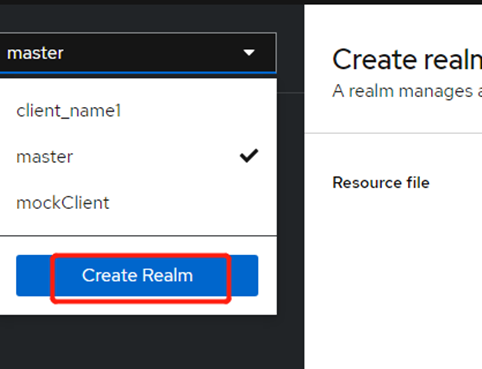
在Create realm页面,输入Realm name为oidc_shengbo,然后单击Create,创建一个名为oidc_shengbo的新Realm,Realm在Keycloak中代表租户。
3.创建用户
在页面左上角的下拉列表中,选择已创建的oidc_shengbo,在左侧导航栏选择Users,然后单击Add user。
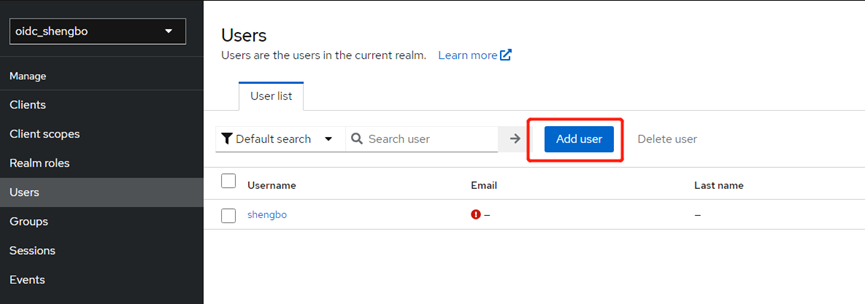
在Create user页面,输入Username为shengbo,其它为可选项,设置完后,单击Create创建用户shengbo。
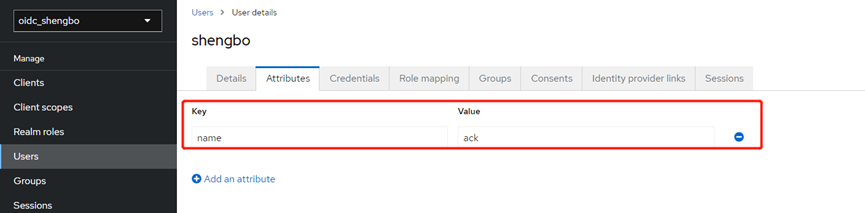
4.添加用户属性
在shengbo页面,单击Attributes,添加用户shengbo的相关属性,设置Key为name,Value为ack,然后单击Save。该属性可以被注入到ID Token中。
5.设置密码
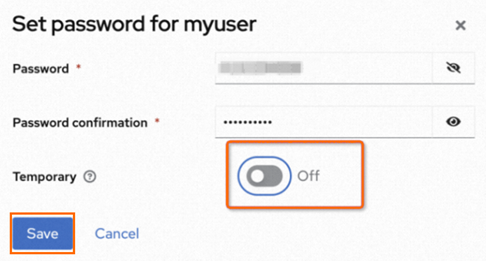
在shengbo页面,单击Credentials,然后单击Set Password。
7.设置密码时将Temporary置为On,然后单击Save,第一次登录后需修改密码。
登录Keycloak的地址为https://${Keycloak 服务域名}/realms/${用户所在realm}/account。
Client设置
Client为请求Keycloak对用户进行身份验证的客户端。用户设置完成后,需完成Client的设置。
1.在oidc_shengbo页面左侧导航栏选择Clients,然后在Clients页面单击Create client。
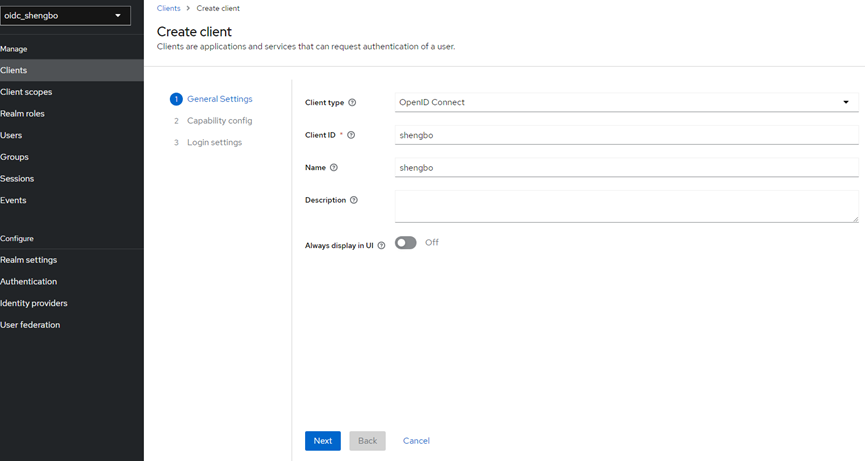
2.在Create client页面,进行General Settings、Capability config、Login settings相关设置。
a.在General Settings页面,设置Client ID和Name,本例均设置为shengbo,然后单击Next。
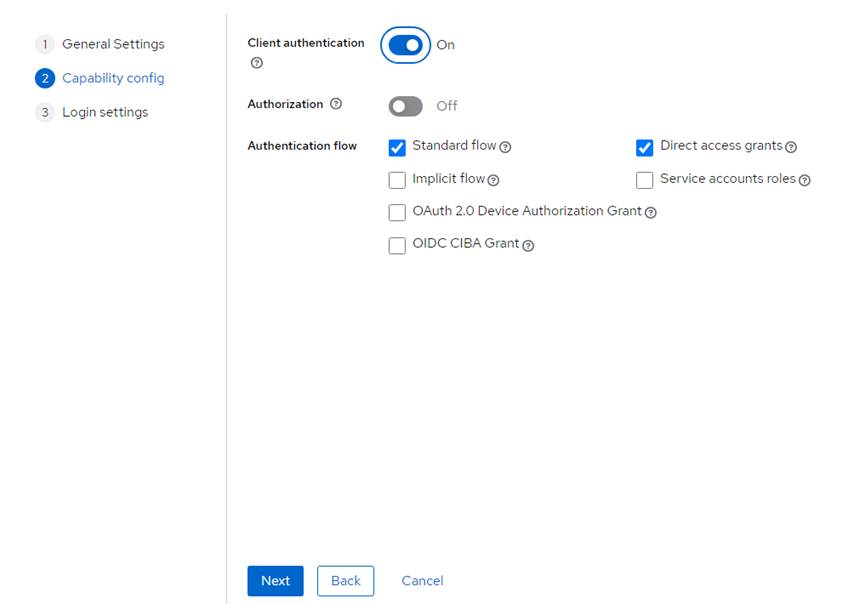
b.在Capability config页面,设置Client authentication为on,表示设置Client的access type为confidential,其他选项保持默认,然后单击Next。
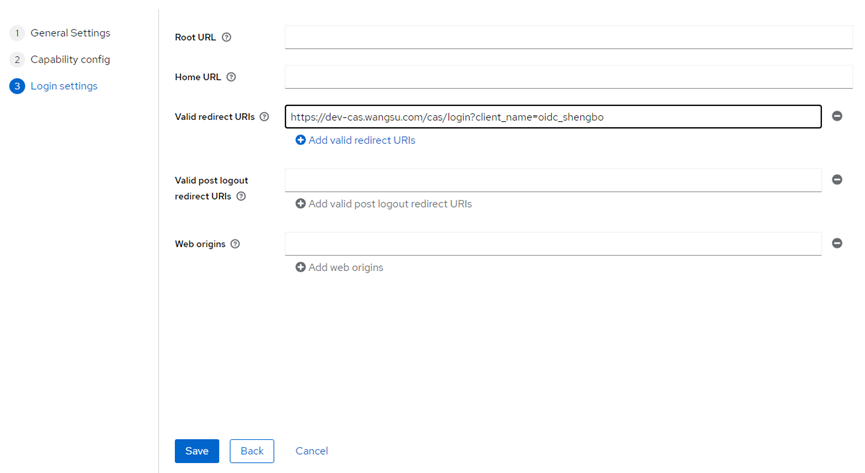
c.在Login settings页面,设置Valid redirect URIs为 https://login.cdnetworks.com/cas/login?client_name=oidc_shengbo&service=https://dash.cdnetworks.com 表示匹配所有HTTP重定向的网址。然后单击Save。
Client scopes设置
Client scopes是在多个客户端之间共享的一组通用协议Mapper和Role。
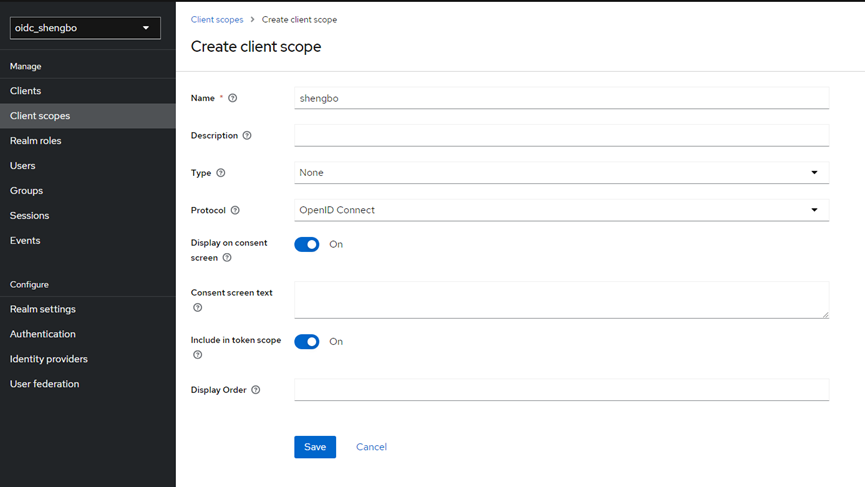
1.在oidc_shengbo页面左侧导航栏选择Client scopes,然后在Client scopes页面单击Create client scope。
2.在Create client scope页面,设置Name为shengbo,其他配置项保持默认,然后单击Save。
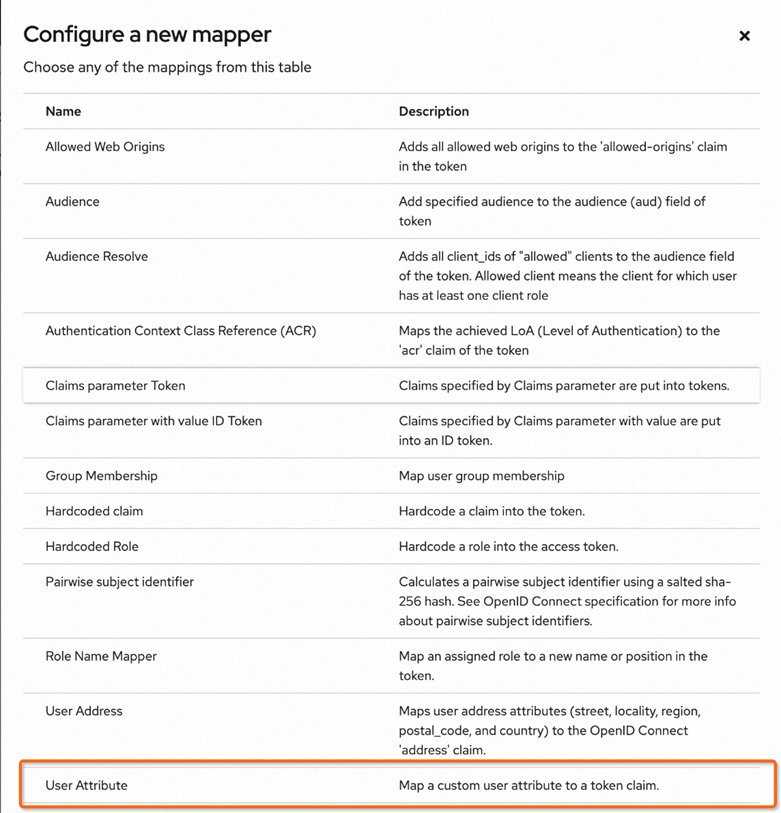
3.在shengbo页面,单击Mappers,然后单击Configure a new mapper。
4.在Configure a new mapper页面,创建一个User Attribute,用于把用户属性注入到ID Token 中,即上文步骤6添加的name和ack字段。
5.在Add mapper页面,设置Name为name,User Attribute为name(即选择上文设置的name: ack属性),Token Claim Name为name(表示该属性在Token中的命名)。其他配置项保持默认。然后单击Save。

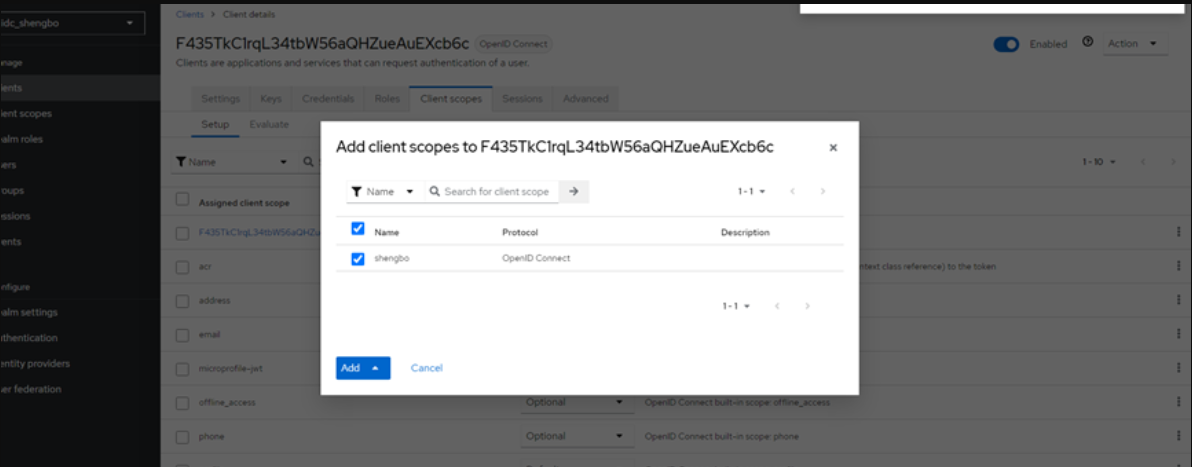
6.在左侧导航栏,单击Clients返回Clients页面,然后选择名为shengbo的Client。
7.在shengbo的client页面,单击Client scopes,然后单击Add client scope,在弹出对话框中,选择待添加的Client scope,然后单击Add。